I am guess blogging today over at Tsunami Rose Designs for the release of her Life Abloom Digi Journal. It's full of shabby chic goodness and I love it.
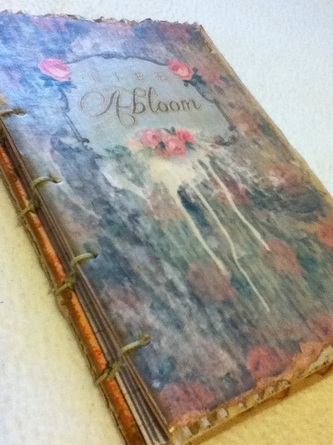
The digi kit includes 32 journal pages, front and back covers, a lined journal page, 2 pockets, 2 envelopes and a whole slew of tickets, journal spots, tags and sentiments. You can check it out at the Tsunami Rose Store.
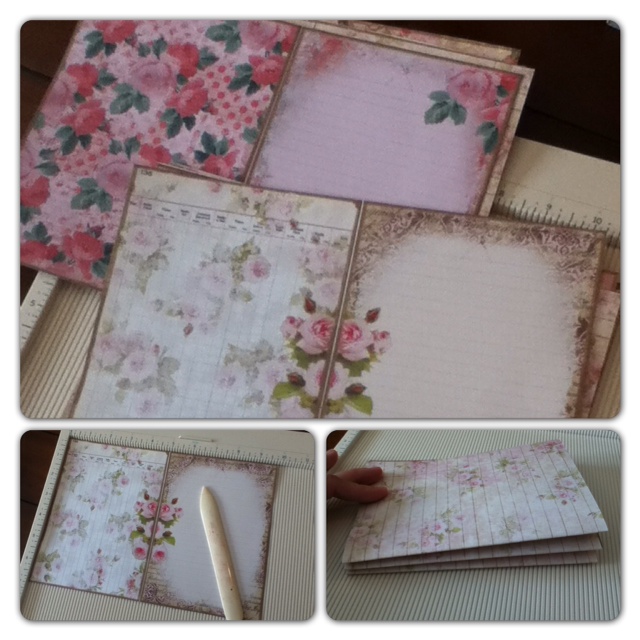
My blog post that can be found HERE, details out the process I went through to make the journal from start to finish. I printed it out, cut and scored it all up, made my covers, poked all my holes and bound it all up using Coptic Stitching. Here's a few pictures:
 Cutting, scoring and making the signatures. | 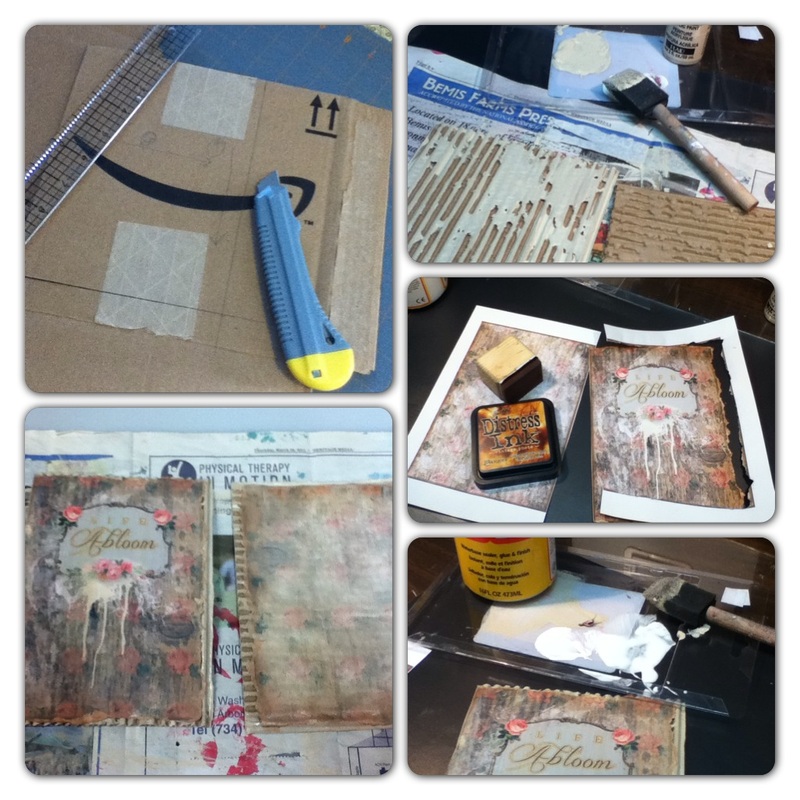 Making the covers using Mod Podge and corrugated cardboard. |
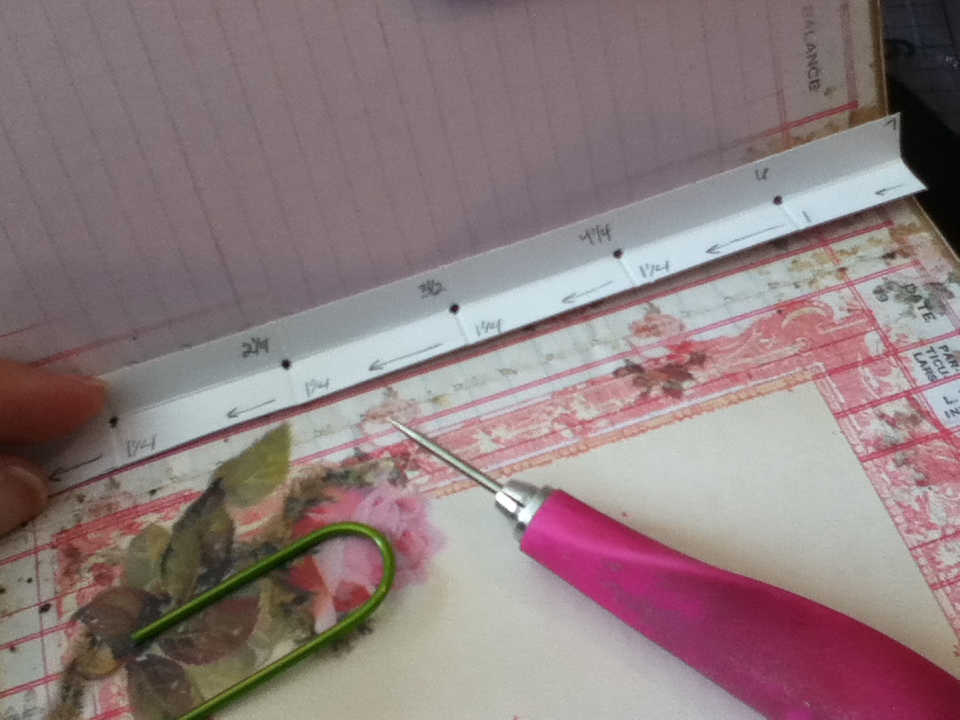 Poking the holes in the signatures using a paper piercer and template. | 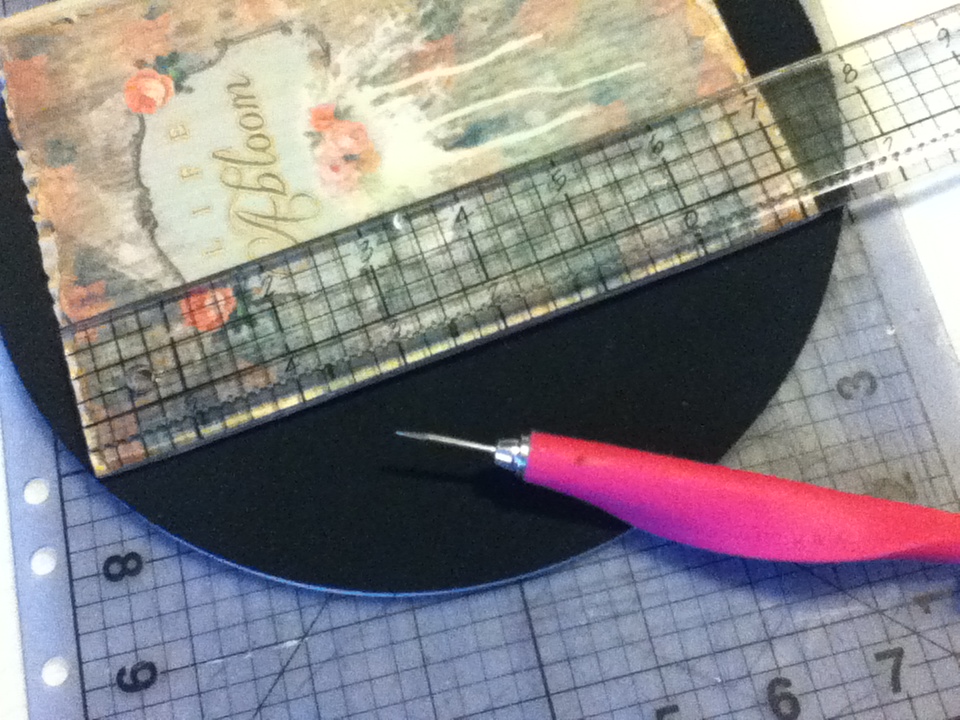 Poking holes in the binding...1/4 inch from the edge using Tim Holtz ruler. |
For more detailed instructions on how I made the journal, head over to Tsunami Rose Designs blog for my guest post on November 1st.
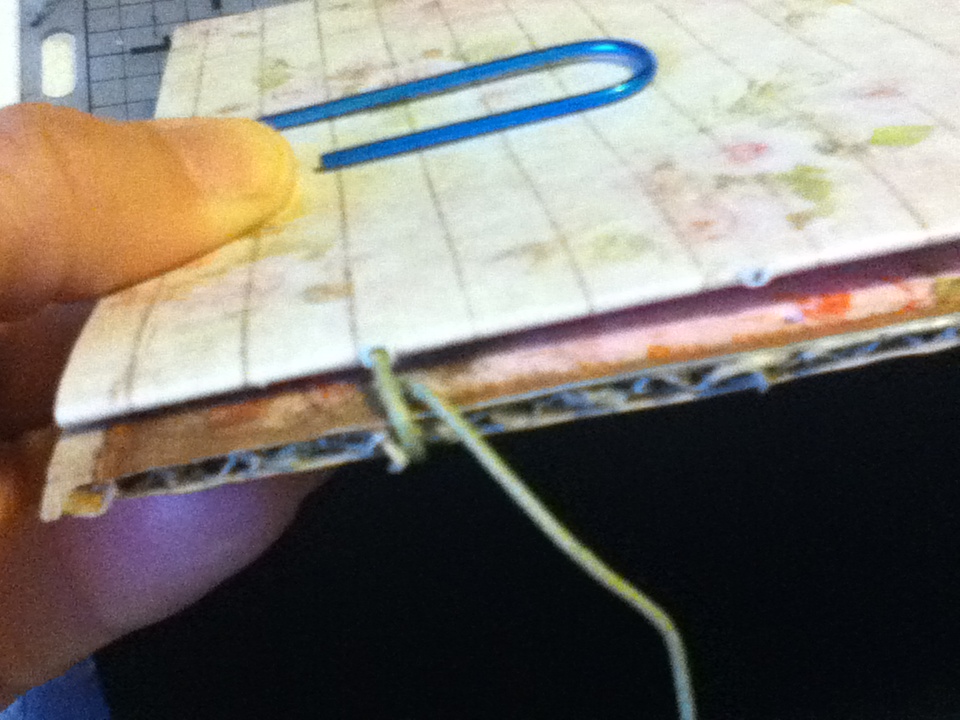
Coptic Stitch binding
I learned how to coptic stitch from SeaLemonDIY on You Tube. It is a bookbinding tutorial chanel. Her Coptic Stitch Binding tutorial is the best I have found. She gives clear verbal instructions as well as has a very easy to see camera view of the needle.
I watched this video several times before trying it on scraps. When I tried it, I was playing the video and pausing it as I went. That really helped.
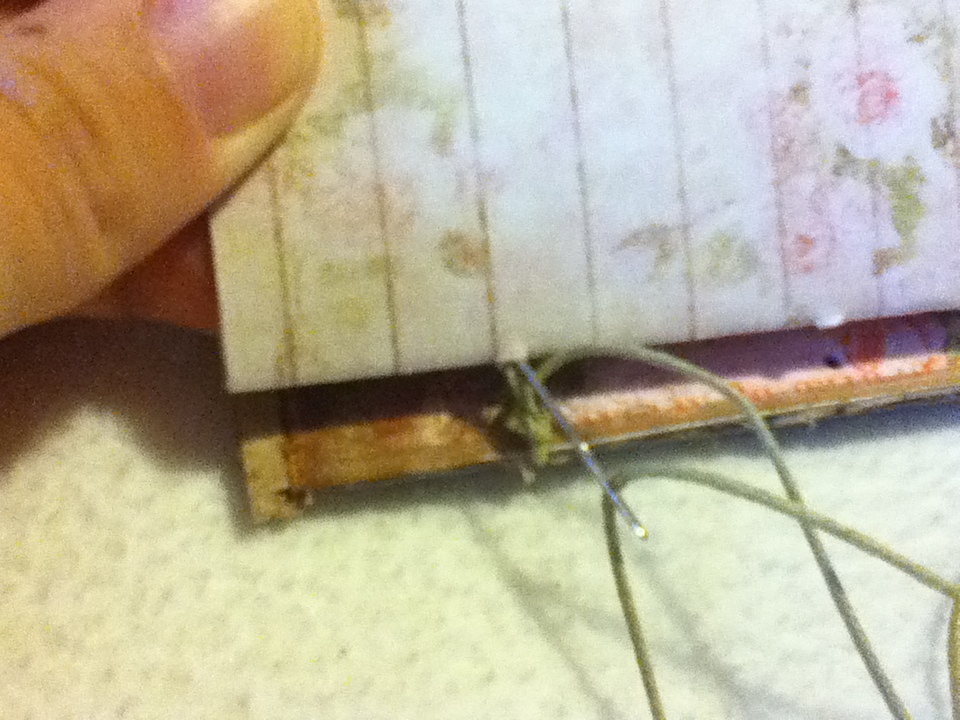
First Signature:
1. Start in the top hole of the first signature and poke your needled through to the outside. Grab your bottom cover and take the needle and poke it from bottom of the cover and pull it out inbetween the signature and the cover.
2. Take your needle and loop it around the back of the stich you just made. The needle will go between the bottom cover and the first signature to do this.
3. Pull it tight when done.
 | 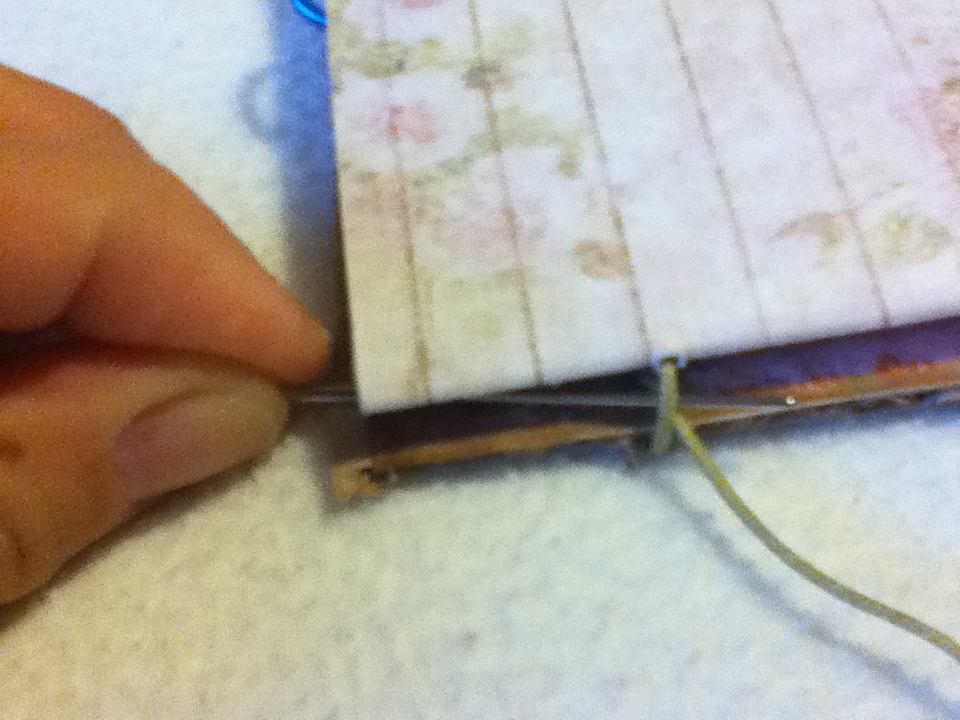 |  |
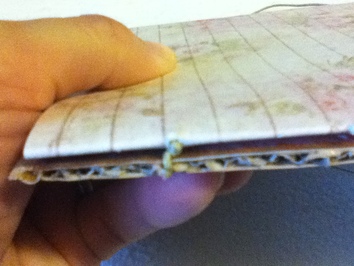
4. Pole your needle back into the top hole of the first signature.
5. Then poke it back out of the second hole. Now go back to #2 and start the instructions over. Do this until you have completed the first row of stitches.
5. Then poke it back out of the second hole. Now go back to #2 and start the instructions over. Do this until you have completed the first row of stitches.
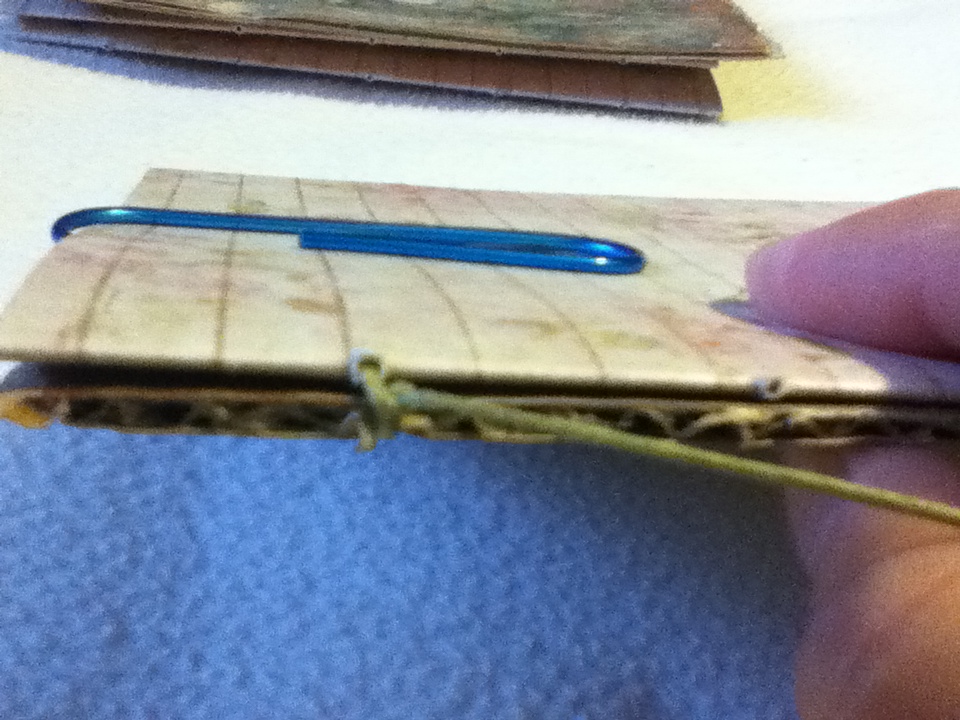
This is what your first stitch will look like:
Second Signature:
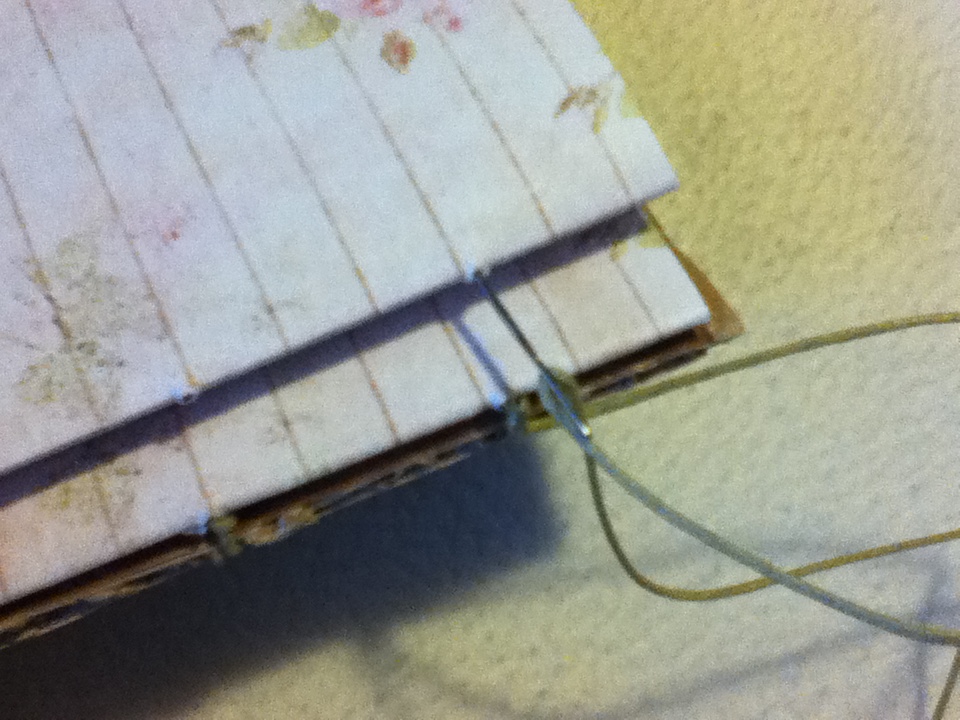
1. When you get the the last hole in the first signature, don't poke the needle back into the middle of that signature. Instead poke it into the bottom hole of the second signature and then back out the second hole.
2. Go back up to #2 under First Signature and repeat this process all the way down the signature.
 |  |
Third Signature:
1. When you get to the last hole in the second signature and you have poked your need out of the top hole, wrap it around the bottom loop like you normally would. Now grab your third signature and your top cover. Stack them on top of your sewn signatures.
2. Take your needle and poke it from the top of the top cover and back out inbetween the top cover and third signature. Do your loop around on the stitch inbetween the first and second signature.
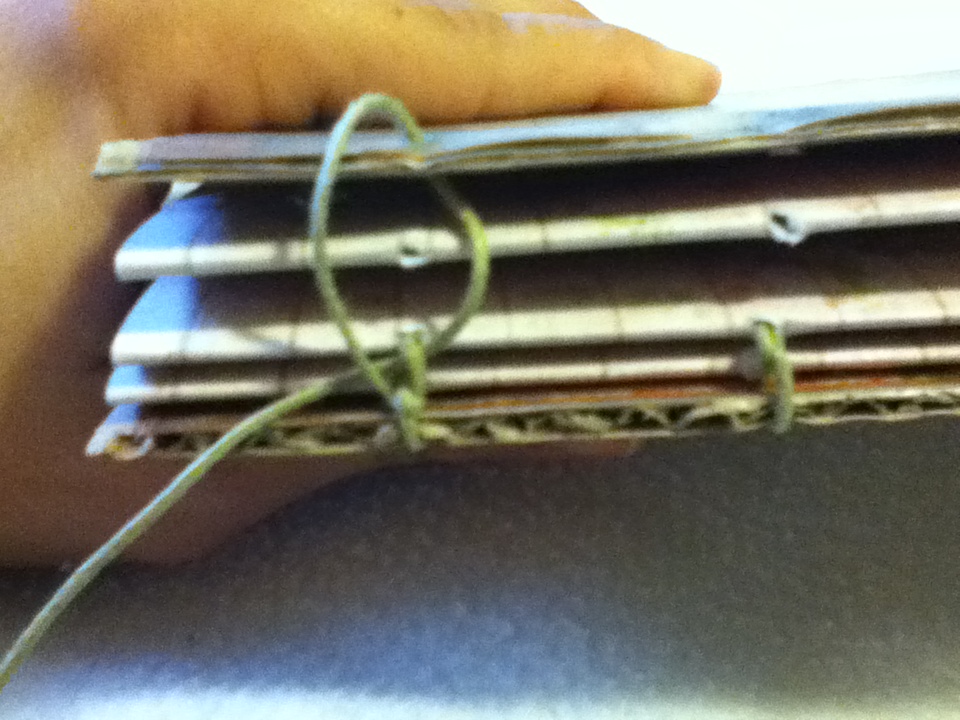
3. Pull it tight and now poke the needle into the top hole of the third signature and then back out the second hole like normal.
4. Do your loop around the stitch below inbetween the first and second signature.
4. Do your loop around the stitch below inbetween the first and second signature.
5. Hook in the cover from the top, coming out between the cover and third signature.
6. Loop around the stitch between the second and third signature and go back into the second hole in the third signature.
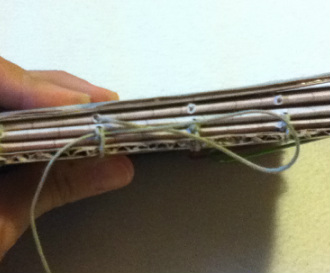
Repeat this process all the way down your signature. Your needle will end up on the inside of the third signature at the bottom hole. Simply tie off and trim.
6. Loop around the stitch between the second and third signature and go back into the second hole in the third signature.
Repeat this process all the way down your signature. Your needle will end up on the inside of the third signature at the bottom hole. Simply tie off and trim.
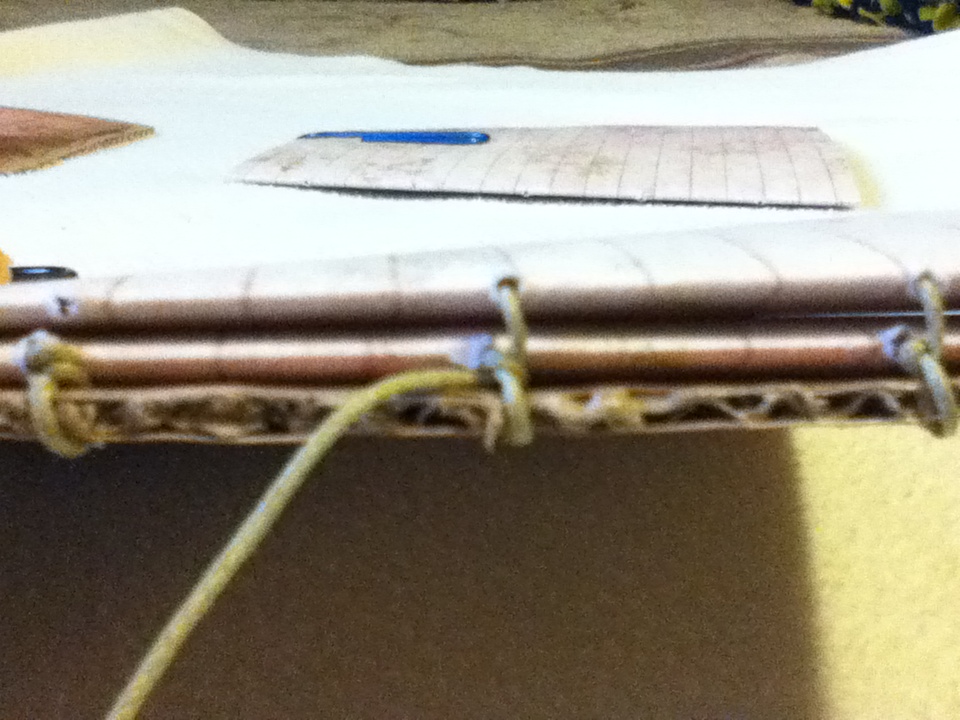
This is the finished binding. I really enjoyed doing it once I got the hang of it.
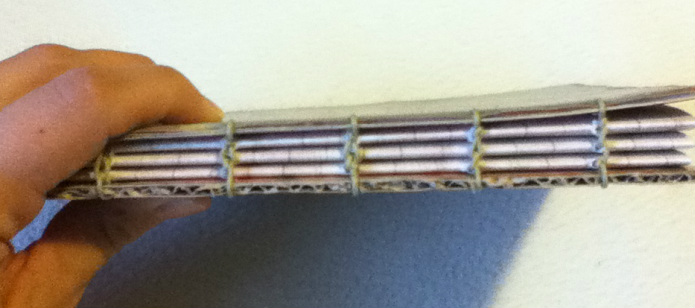
Here is the finished binding. I really enjoyed going this once I got the hang of it. Now all you coptic experts out there...I am sure there are mistakes here! :) This is definetly a technique you get better at as you do it more and practice.
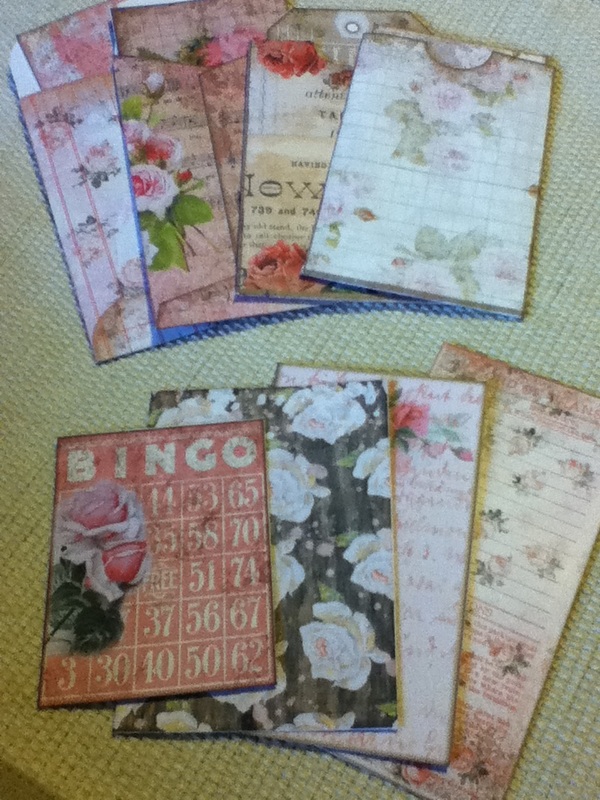
Embellishments:
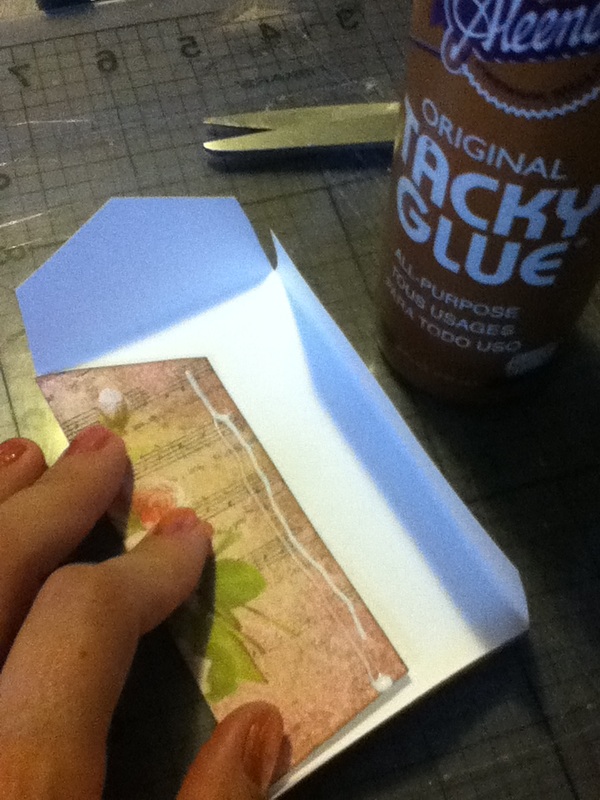
Just a few pictures of the embellishment in the kit. I used tacky glue to glue them together and to the pages. I did this because I wanted a stong hold and I used cardstock to print the kit so the tacky will work fine.
Embellishments:
Just a few pictures of the embellishment in the kit. I used tacky glue to glue them together and to the pages. I did this because I wanted a stong hold and I used cardstock to print the kit so the tacky will work fine.
 |  |  |

The finished journal and all the embellishments.
Thanks for stopping by and don't forget to head over to Tsunami Rose Designs to see the extended tutorial on how I made this journal. Please let me know if you have any questions about that tutorial or this coptic stitch one. I will will do my best to answer your questions.
For those of you following me as I participate in Traci Bunkers 30 Days of Get Your Art On, this is also my Day 22-30. I tell you, this coptic stitch thing is a learned skill and takes time. I loved participating in this challenge and really admire Traci. I hope you take some time to stop by her blog and check it out. She is a fantastic artist who is very inspiring.
MiMi Dibble
THEscrapinator5000

 RSS Feed