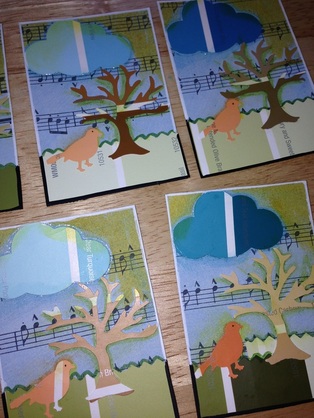
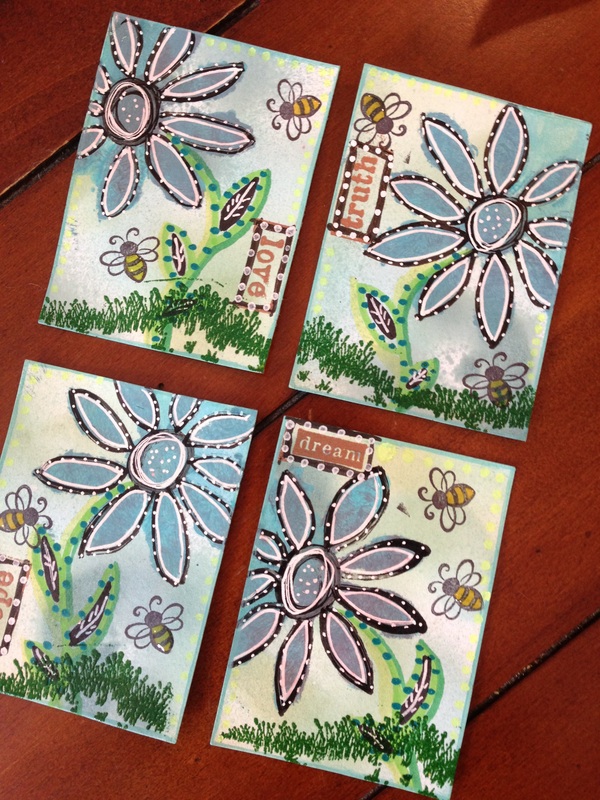
I recently participated in an ATC swap in which the theme was "paint chips". The design was up to you with the only requirement being that you used paint chips. Here's mine:
Here's a little bit of my process:
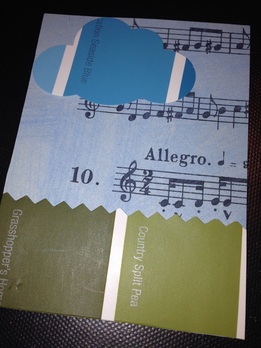
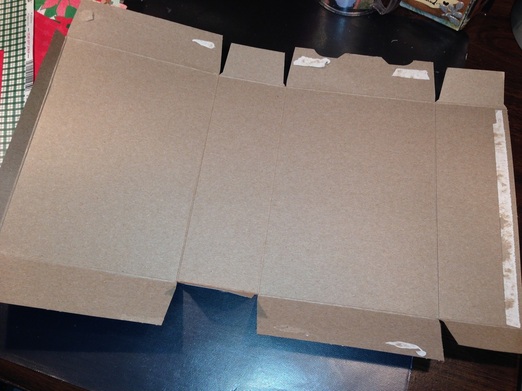
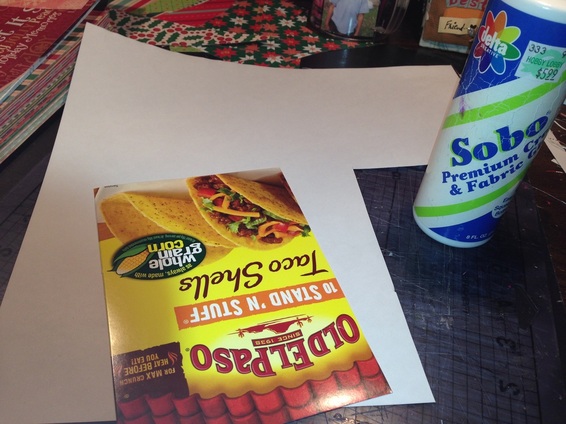
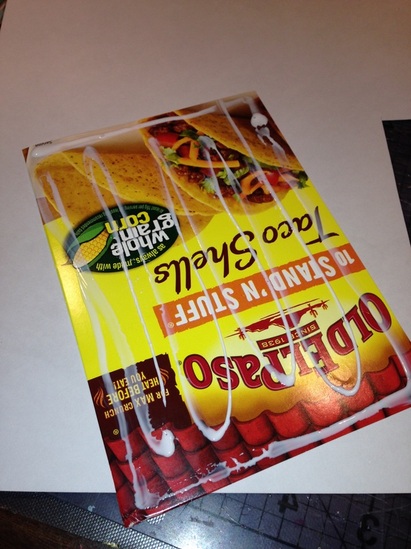
I started with a cereal box as a base, covered it with painted music sheets, added green paint chip "grass" and a blue paint chip cloud. | 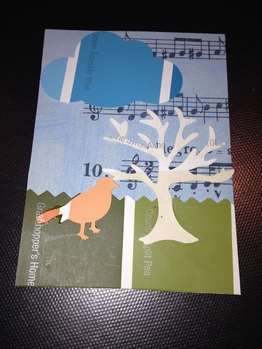
Next, I added a tan paint chip tree and an orange paint chip bird. |
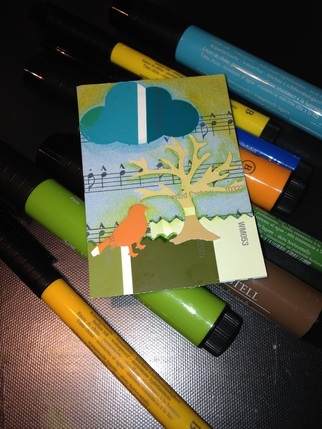
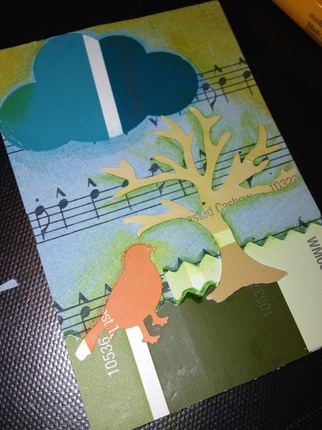
Time for some markers to add shading and detail.
| 
|

| I used my Faber Castell Pitt pens to do the shading around the cloud, tree and to add some yellow for sun light in the sky. I love these pens, they are smearable before they dry. I then used a white paint pen to outline the top of the card, black to outline the bottom of the card and a glitter gel pen to outline the cloud. I gave my bird an eye and done! So fun! |
I cannot wait to see the ATCs I receive! I'd love to hear about your paint chip creations or ATCs you've made.
MiMi Dibble
THEscrapinator5000
MiMi Dibble
THEscrapinator5000


 RSS Feed