So my hubby needed a phone log for work. He was just using a big pad of paper, it was getting lost on his desk, there was not organized records keeping and it he just wasn't feeling it so I made him one.
Here's a list of supplies I used:
Old cracker box, old phone book pages, pattern paper, Mod Podge, craft paint, Walnut Ink, letters and embellishments to decorate. I used Tim Holtz idea-ology Grungeboard iconic alpha and elements set as well as his Weathered Clock die.
Here's a list of supplies I used:
Old cracker box, old phone book pages, pattern paper, Mod Podge, craft paint, Walnut Ink, letters and embellishments to decorate. I used Tim Holtz idea-ology Grungeboard iconic alpha and elements set as well as his Weathered Clock die.
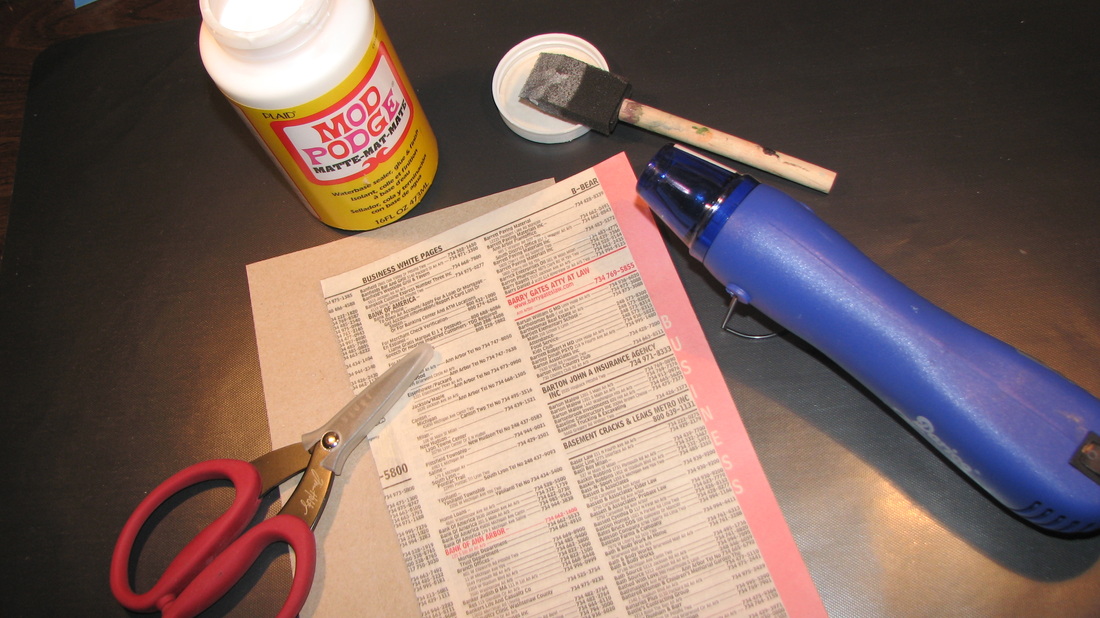
1. I cut my cracker box to make a front and back cover. It measures 9.5 inches tall by 6 inches wide. I then used Mod Podge to glue down old phone book pages to the outside of the front and back cover and then coated the pages again with Mod Podge. I did this to protect the pages from wear especially since phone book pages are so thin.
Save your old cereal and cracker boxes for your craft projects. You can use that cardboard. There is no need to go buy "chip board", just recycle.
Save your old cereal and cracker boxes for your craft projects. You can use that cardboard. There is no need to go buy "chip board", just recycle.

2. I then cut the pattern paper out for the inside of the front and back covers. Before gluing those down with Mod Podge, I stained them as well as my phone book pages with Walnut Ink.
Walnut Ink is really intense and the color is very dark. When diluted, it maintains the original pigment color. I took a few drops of the Walnut Ink and mixed it with water in a small spray bottle. I tested the spray and added water until I was happy with the mix. I then lightly sprayed it on the pattern paper. Because it was mixed with water, if you move quick :), you can spread it around nicely on your paper to get a smooth look vs a sprayed look. It almost looks tea or coffee stained. It gives it a real vintage feel. I did the same to the front cover and let it dry and then did a spay to get some blotching and a stained paper look.
The picture on the left shows the pattern paper with the very white back ground and then how it looked after I used the Walnut Ink. Cool right? Walnut Ink isn't cheap but it does last forever. A little goes a long way.
3. The next thing is to decide how you want to decorate it. You could use stickers or die cuts you have bought or made from your own dies, cut outs or printables, or even paper punches you have.
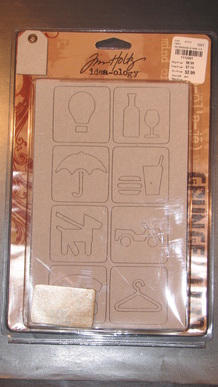
I decided to use Tim Holtz idea-ology Grungeboard iconic alpha and elements set and his Weathered clock die. If you've never used Grungeboard before, you should. It really is cool stuff. It's like bendable cardboard and you can do anything to it and color it with anything you want. It takes color really well and you can heat it too.
Now it isn't cheap. If you buy it at Joann's or Michaels you will will pay between $10 and $14 a package. I got mine at Tuesday Mornings for $2.99. I bought the 10 packs they had on the shelf. It will last me forever. That sure is a great discount store to check occasionally for great deals on crafting and scrapbooking supplies.
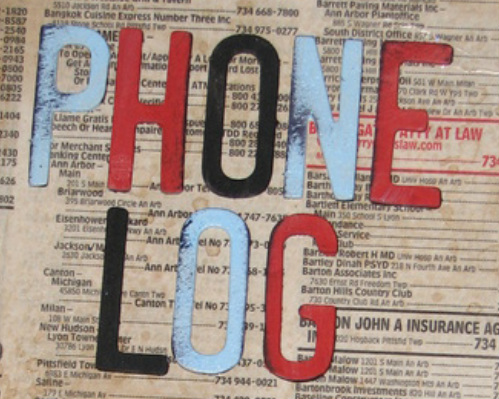
I picked out my letters and also a phone and arrow image from the set. I painted them with just plain old craft paint and a foam brush.
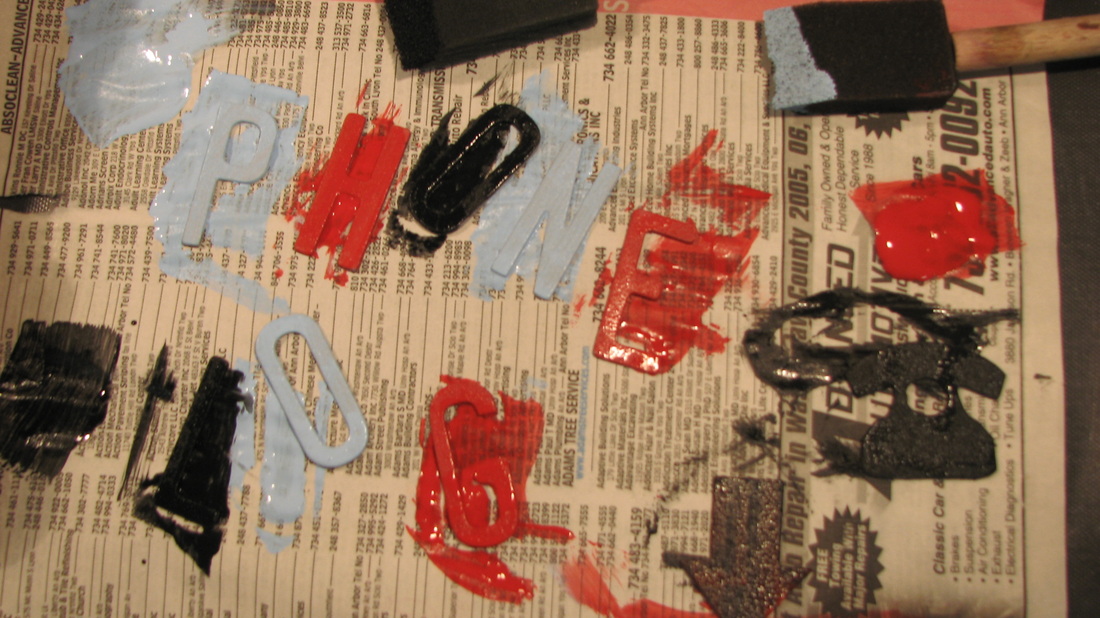
After they dried, using my heat gun because I am totally impatient, I used black
ink to "dirty" up the letters. I used Ranger Archival Ink to do this. This is my go-to black ink. It's permanent and won't rub off. I just kinda ran the letters over the top of the ink pad to smudge a little of it on each one.
ink to "dirty" up the letters. I used Ranger Archival Ink to do this. This is my go-to black ink. It's permanent and won't rub off. I just kinda ran the letters over the top of the ink pad to smudge a little of it on each one.
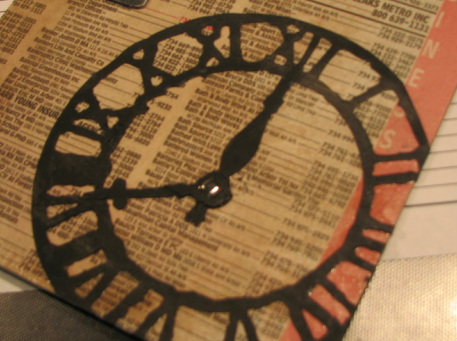
I also used Tim Holtz Weathered Clock die to cut out some more recycled cardboard and painted it. I used a brad to attach the clock hands.

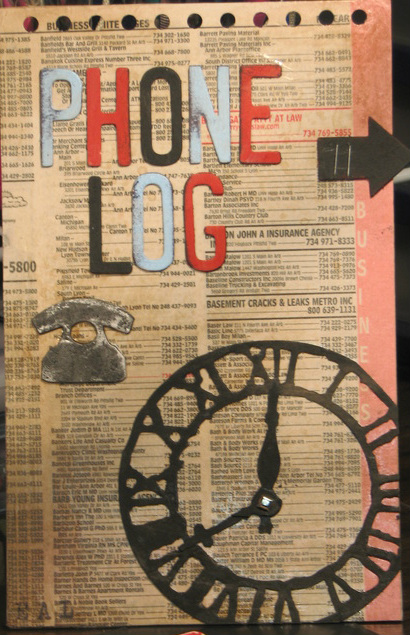
4. After I gluded down all my embellishments with Tombo clear glue, stamped the hubby's initials in the bottom corner, I gave it a final coat of Mod Podge.
AND THEN...THE FUN BEGAN!!! OH YEAH BABY! I broke out the CINCH my hubby got me for Christmas this year. Soooooooooo excited. This is the best present ever! I have been wanting a binding tool forever. We researched quite a bit which one would be best and decided on this one. It was so fun punching the holes! I am gonna have so much fun making journals and mini albumns with this. Yeah!
Now all that's left to do is print out the phone logs I made in Excel and send him off with his new phone log.
If there is anyone out there who does not have some kind of a binding machine, you can just punch holes in the top and bind with book rings.
Hope you enjoyed the tutorial. I sure had fun making this project! Till next time...happy scrappin!
MiMi
THEscrapinator5000
pssst... you can follow me on Pinterest at http://pinterest.com/thescrapinator/
Hope you enjoyed the tutorial. I sure had fun making this project! Till next time...happy scrappin!
MiMi
THEscrapinator5000
pssst... you can follow me on Pinterest at http://pinterest.com/thescrapinator/

 RSS Feed