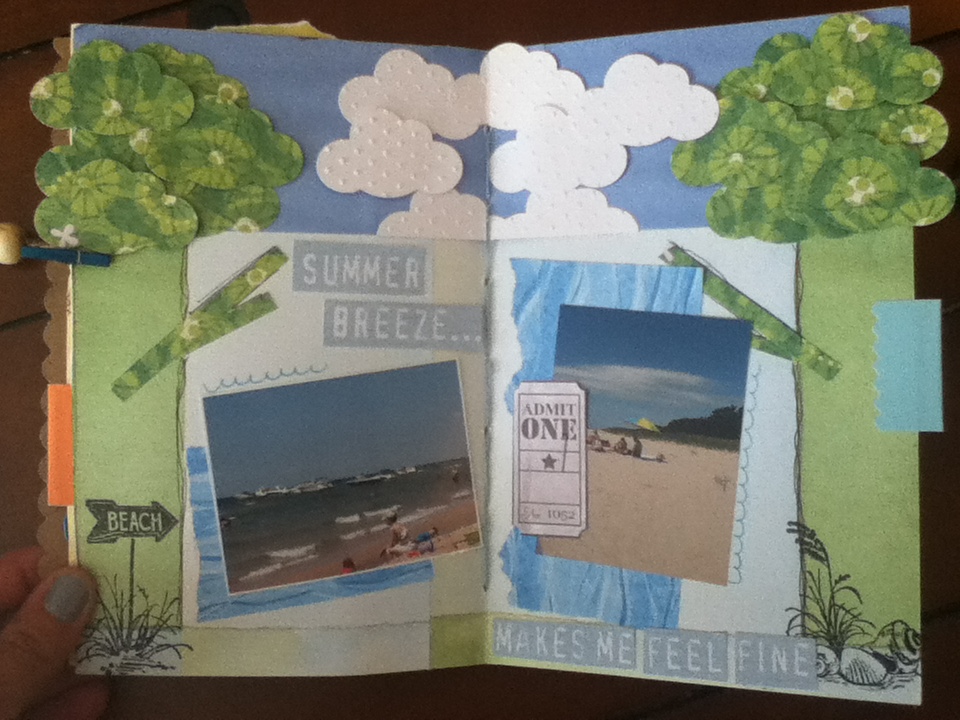
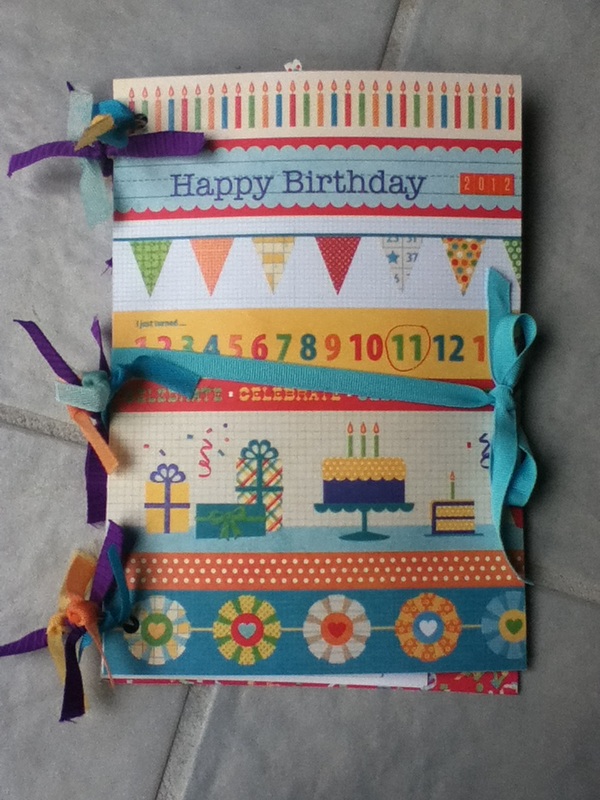
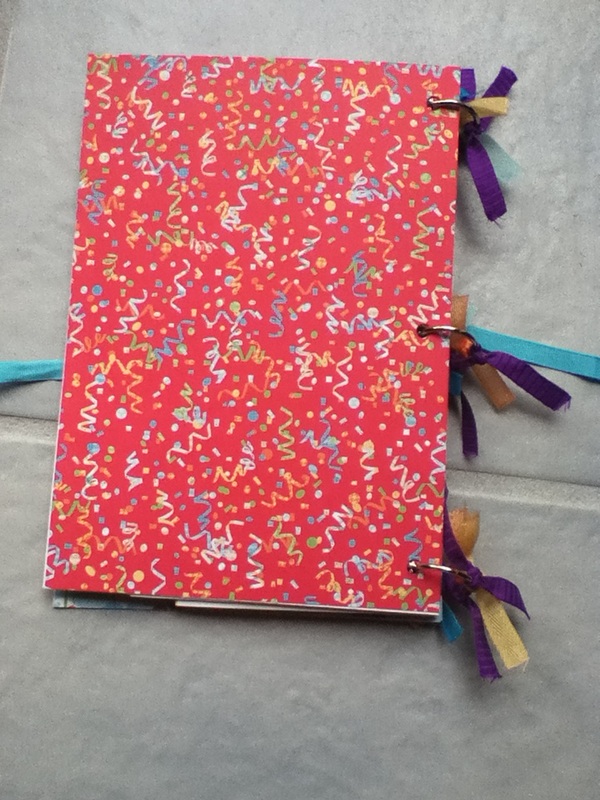
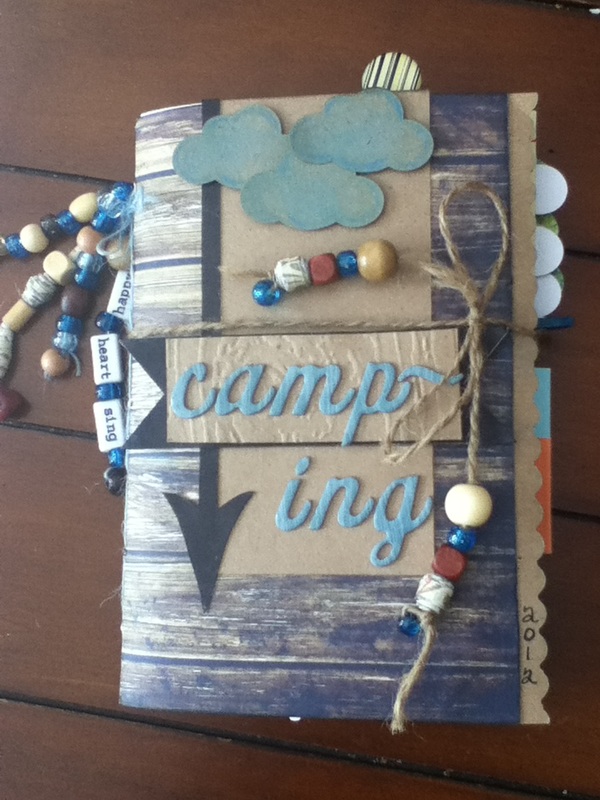
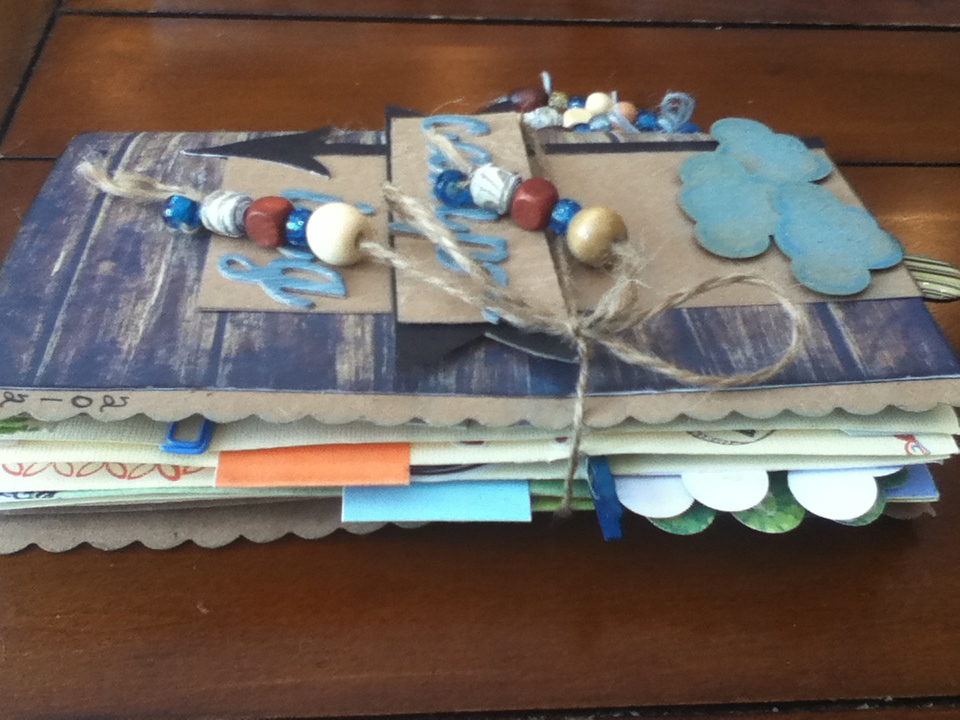
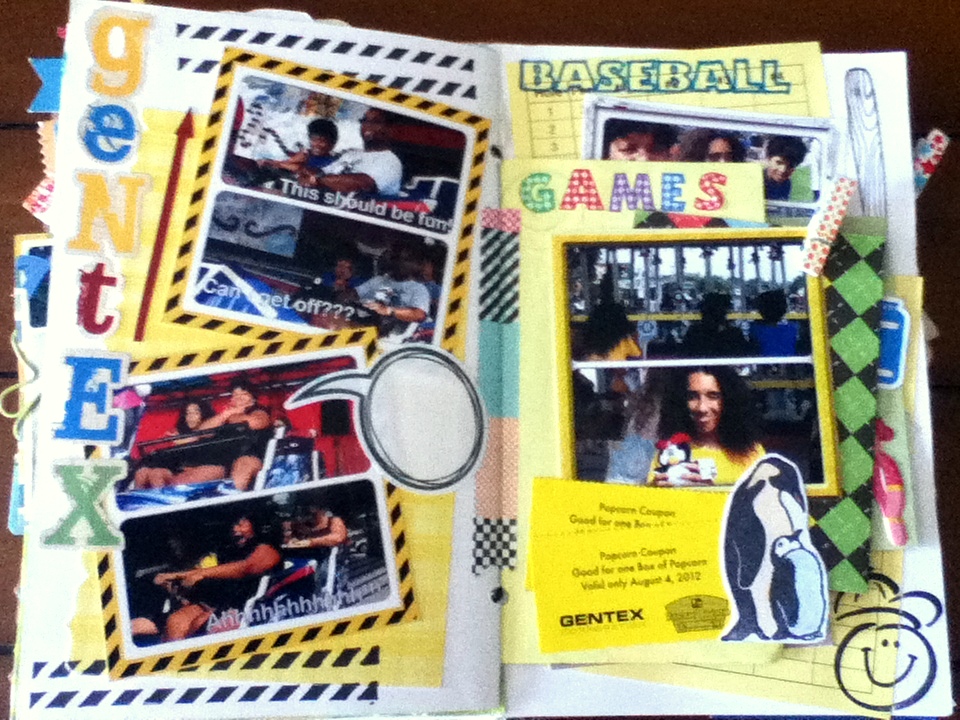
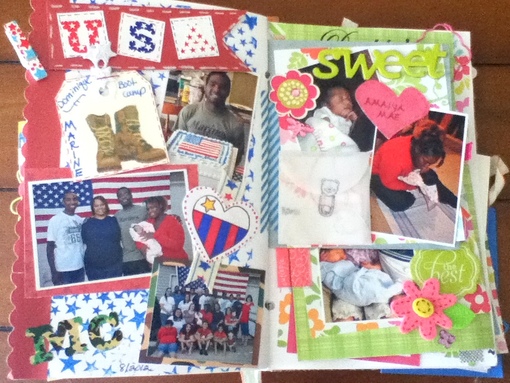
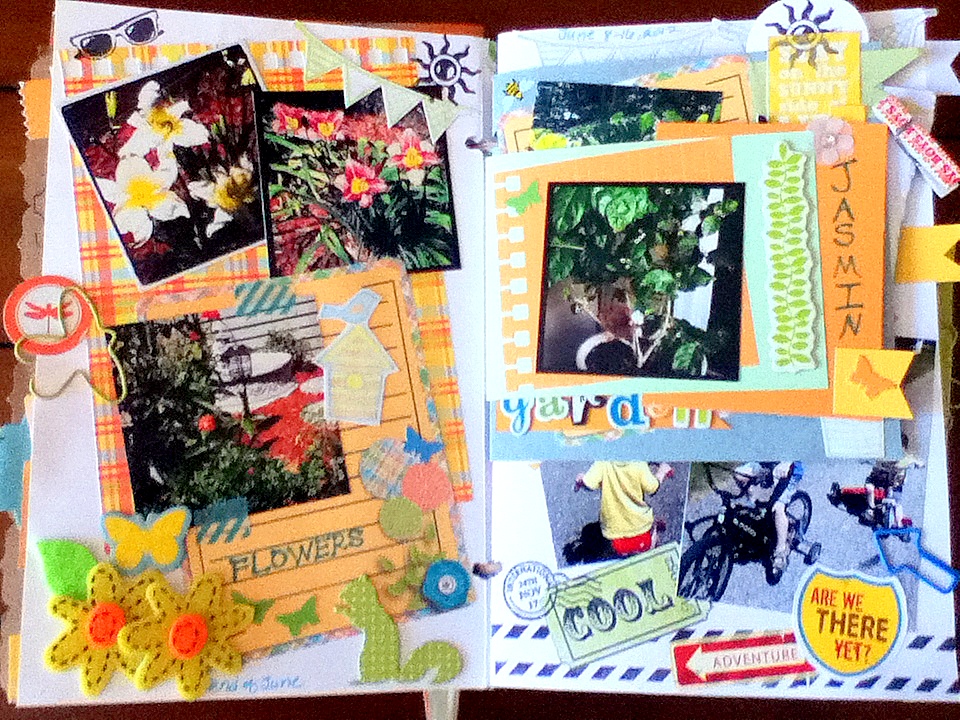
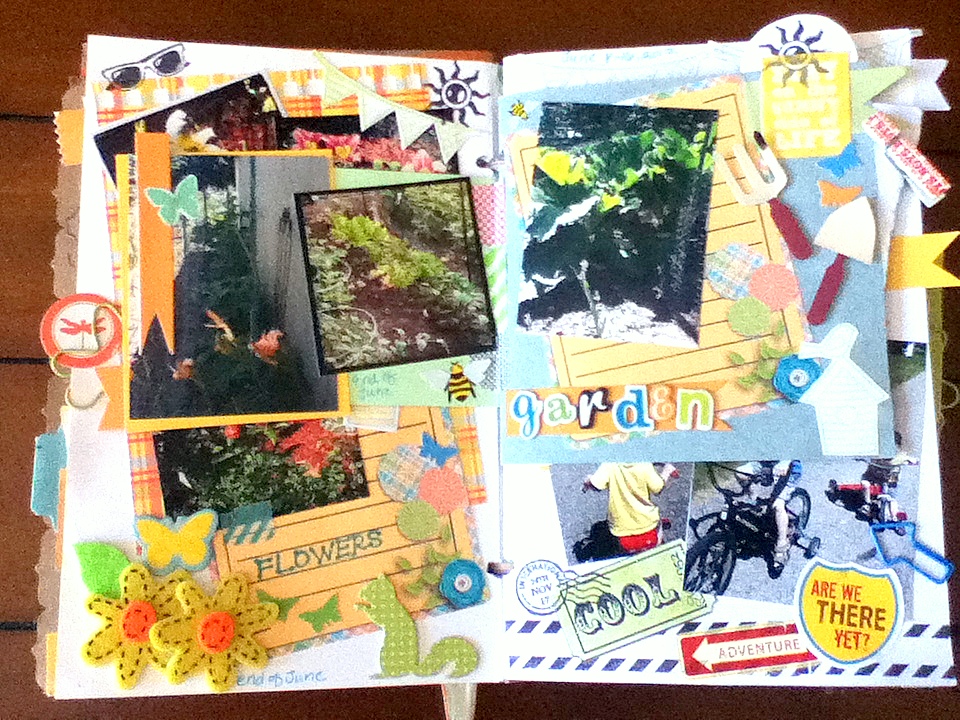
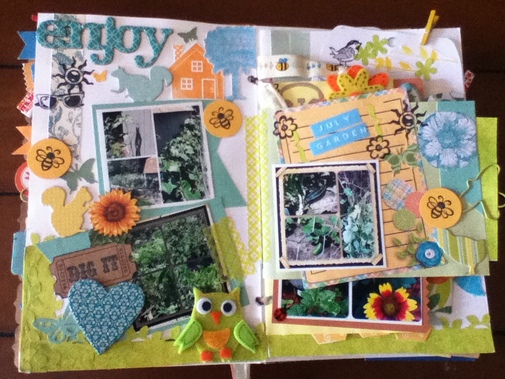
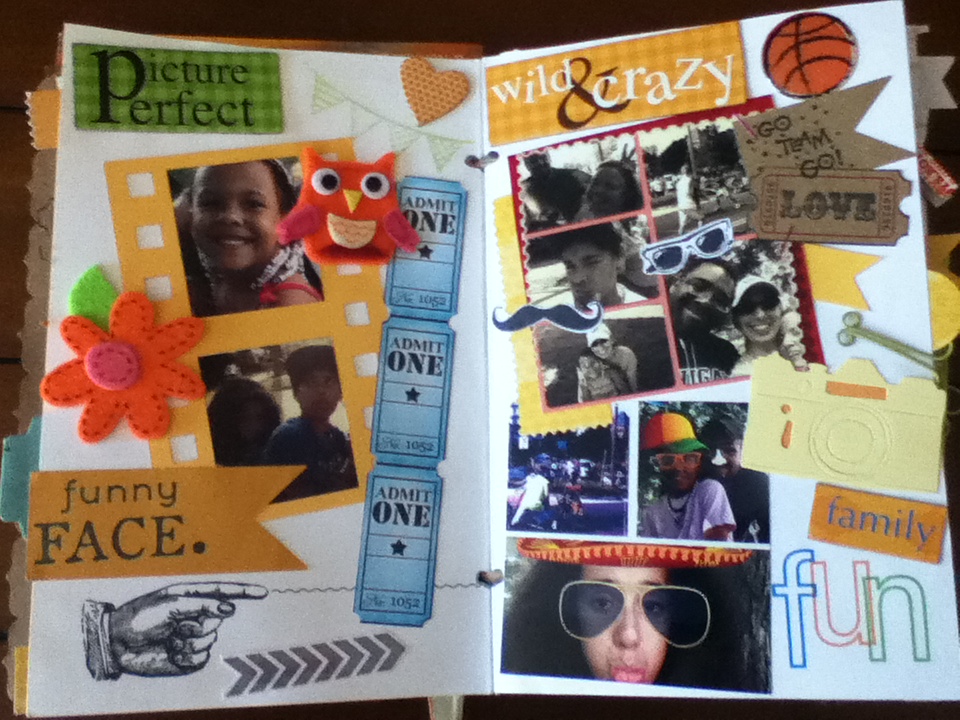
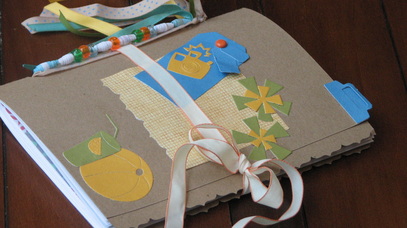
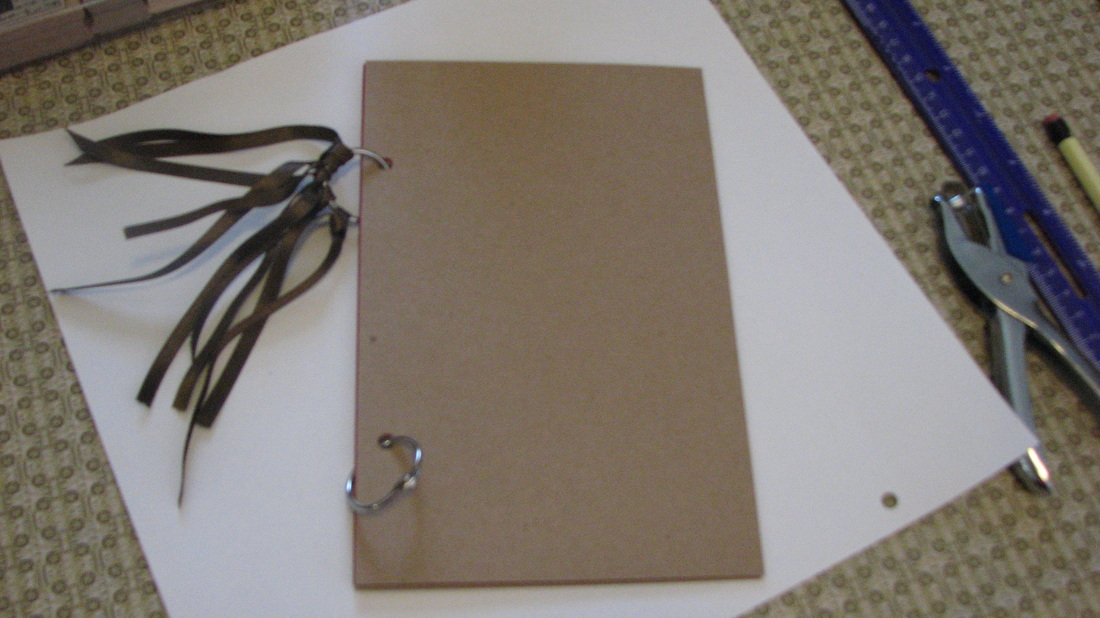
Last week I shared with you the first half of my Camping Daybook that I made for our annual family camping trip to Lake Michigan. You can find part 1 here. This is the second half of the book.
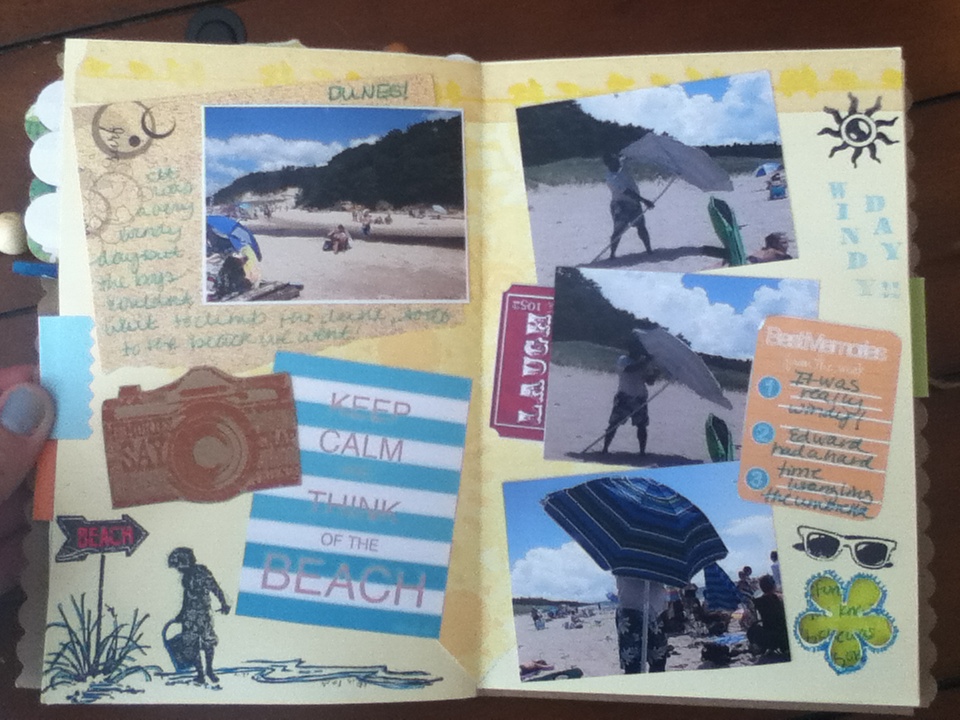
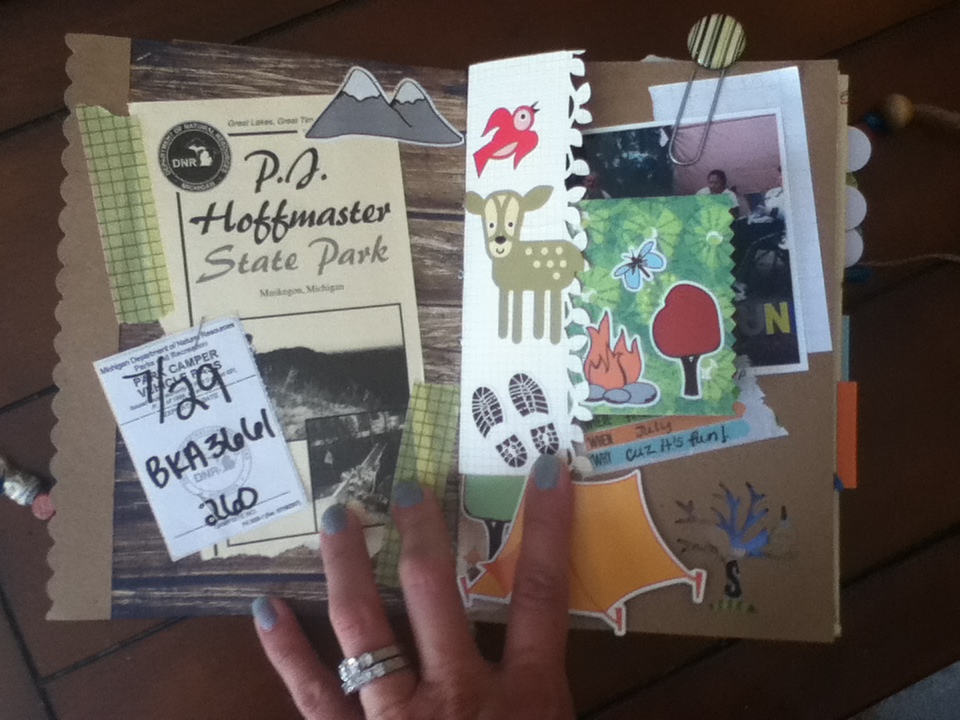
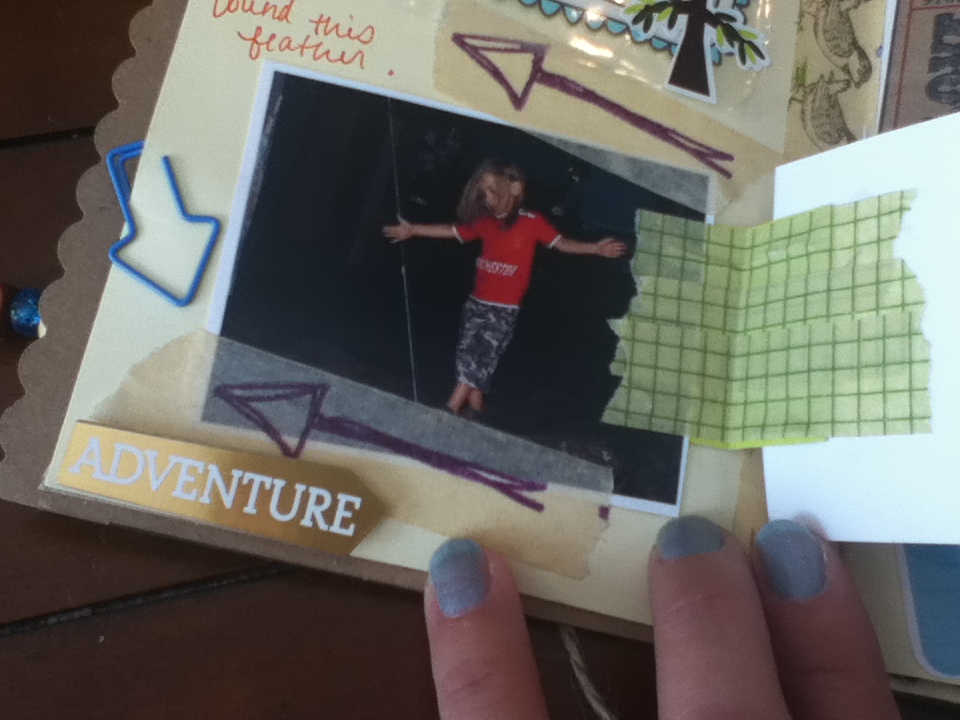
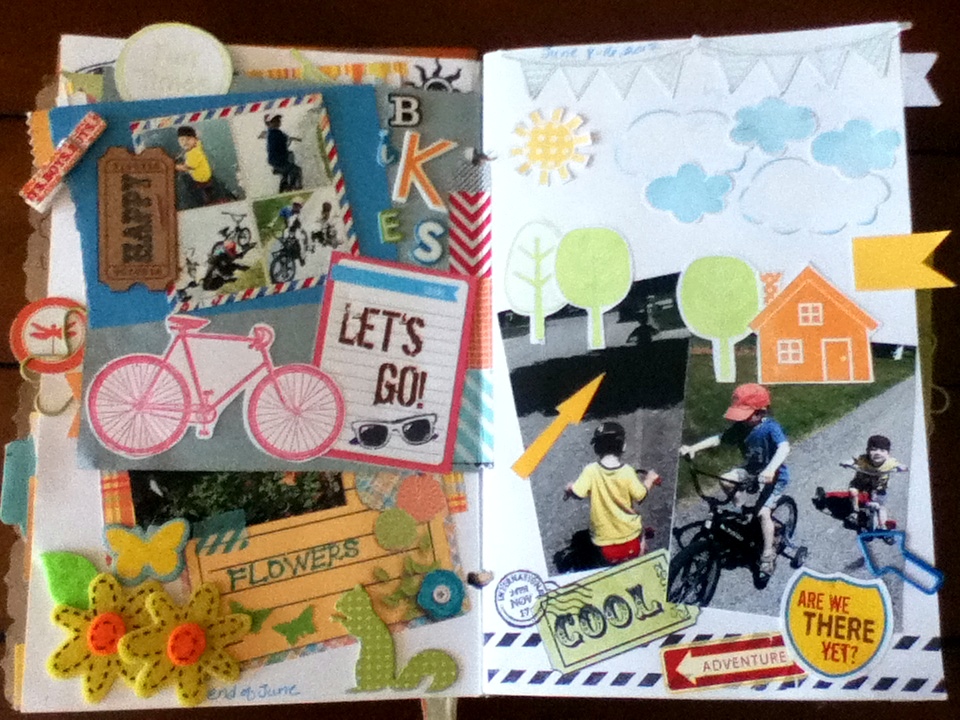
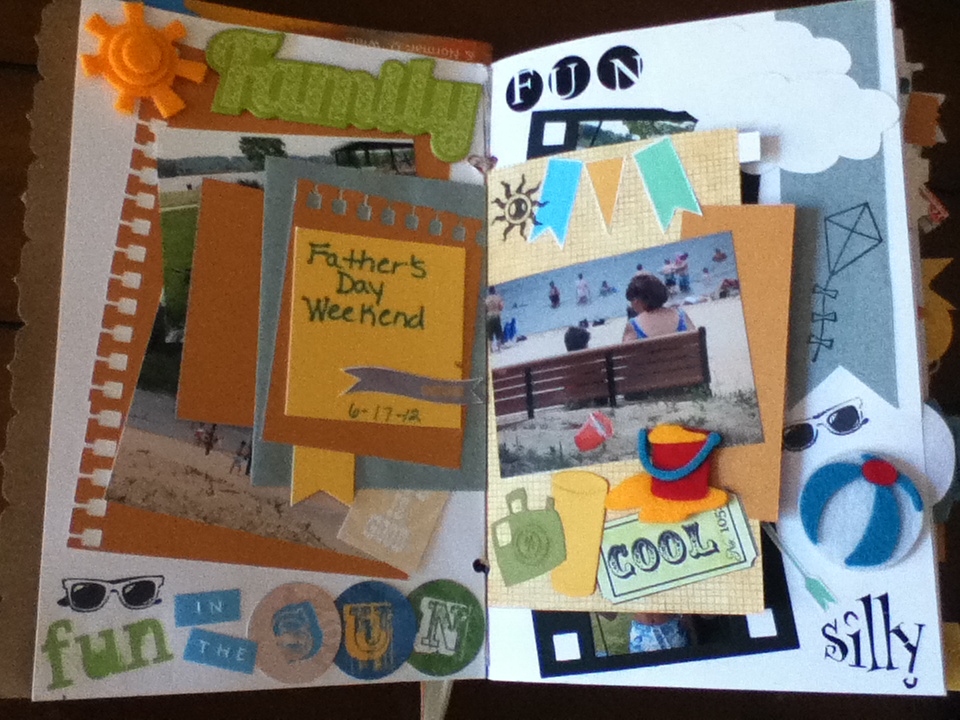
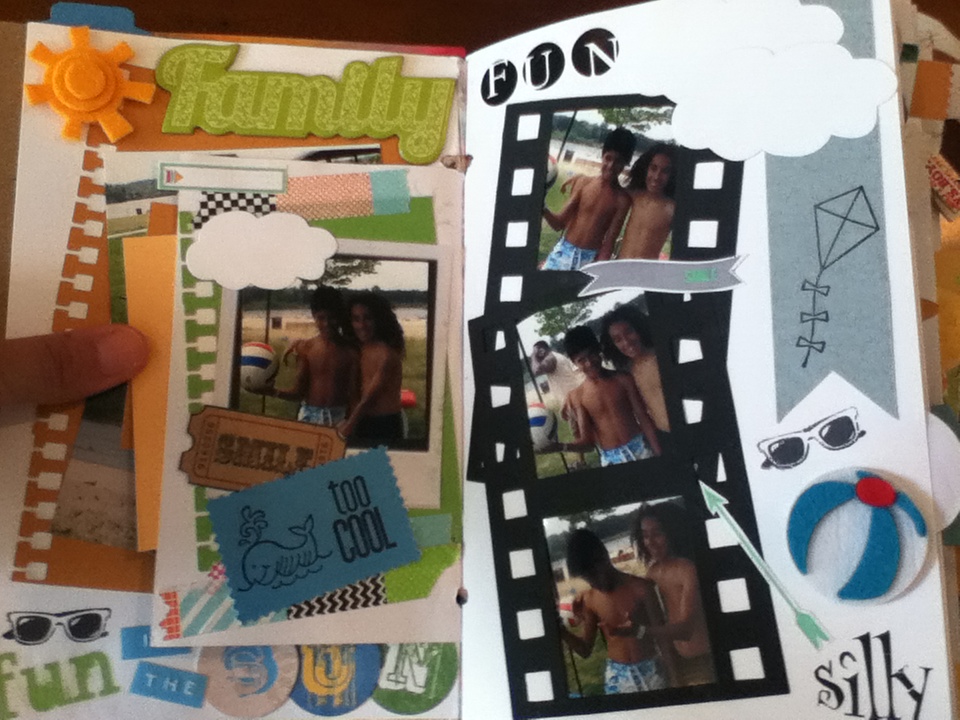
The first sunny day was super windy but that didn't keep us away from the beach. There was a dune that needed climbing.
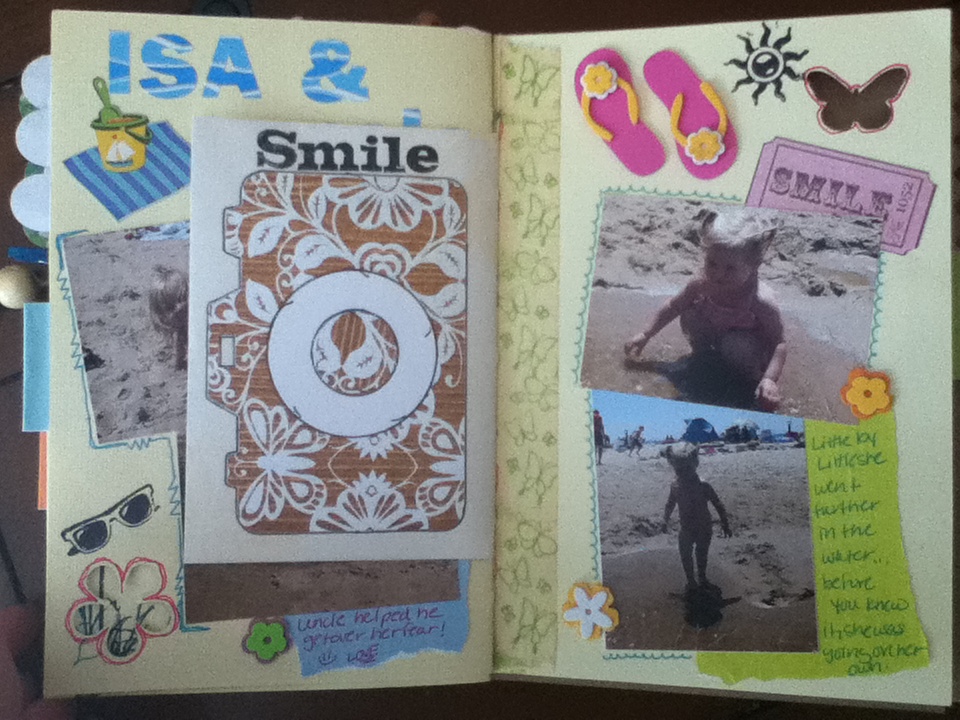
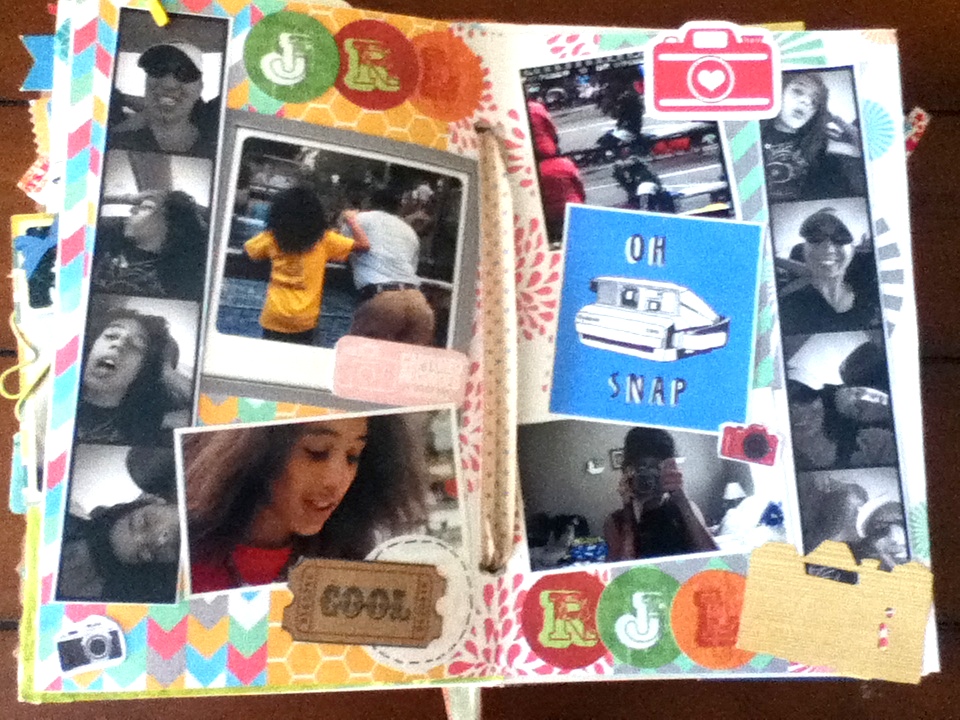
My niece was really afraid of the water but when uncle got done with her, she was fine.

| 
|
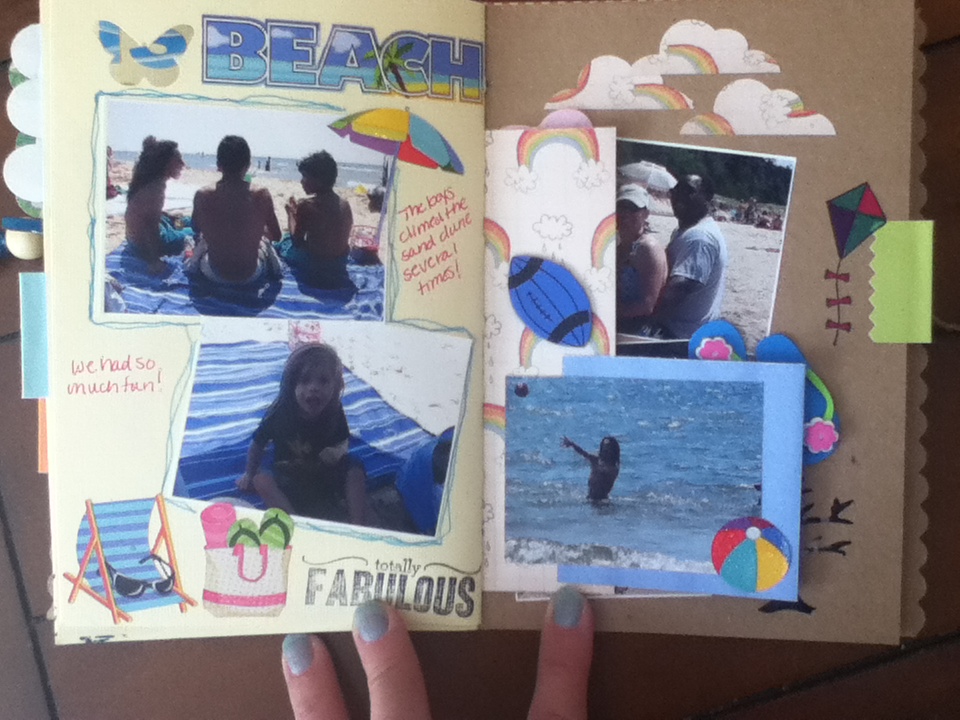
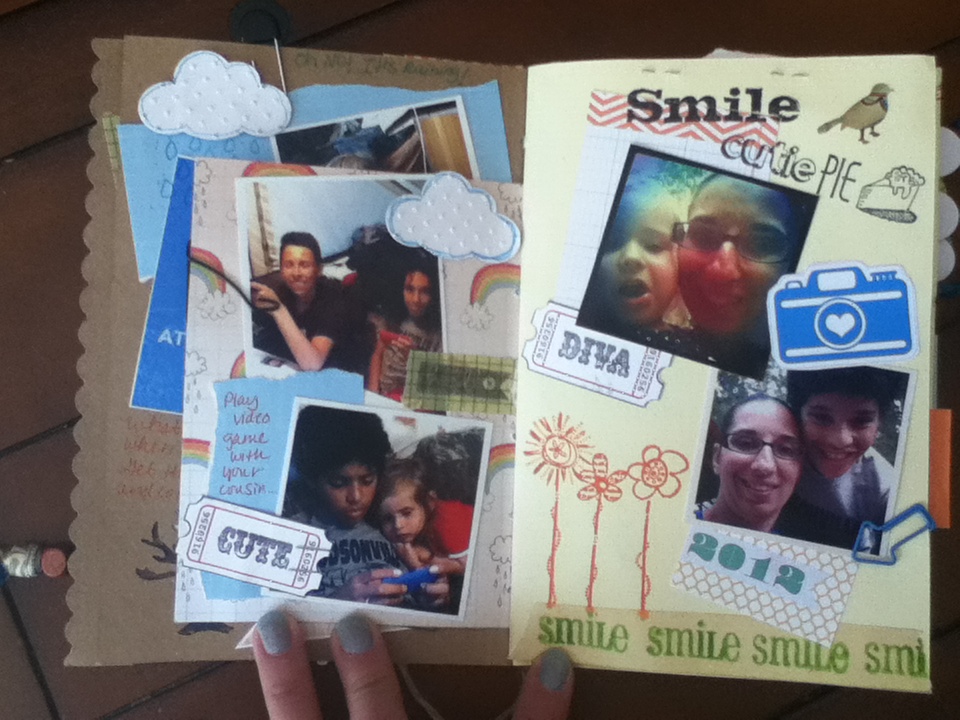
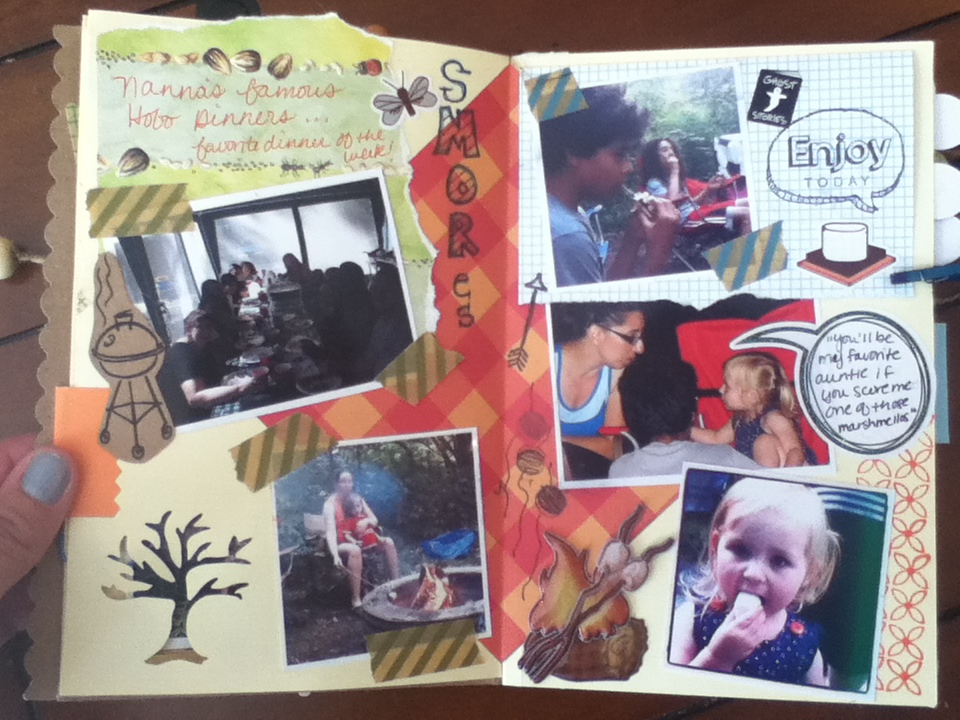
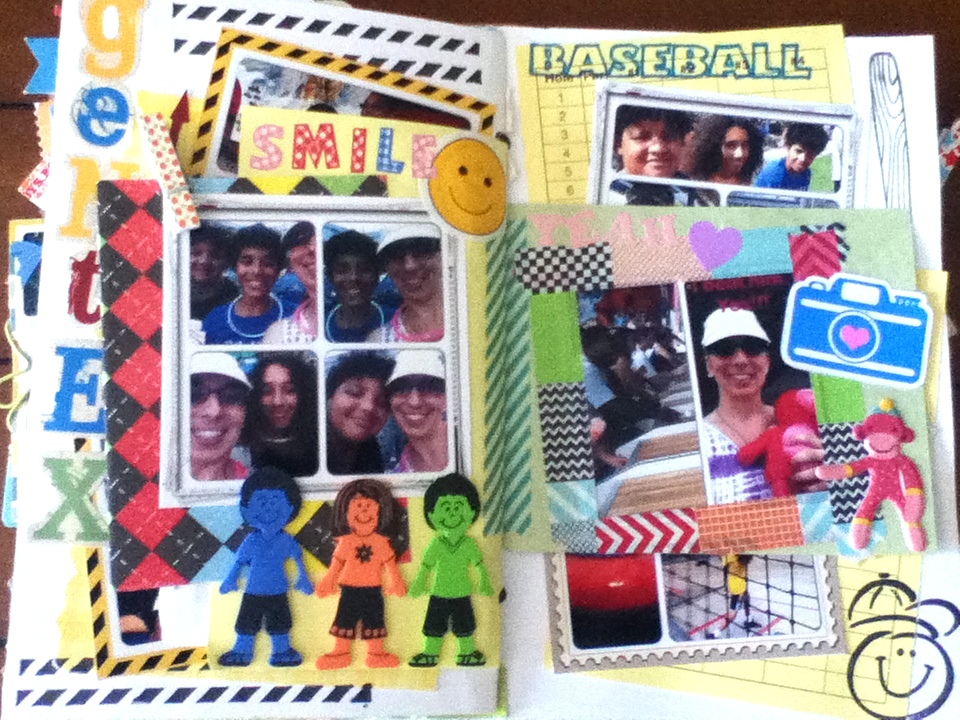
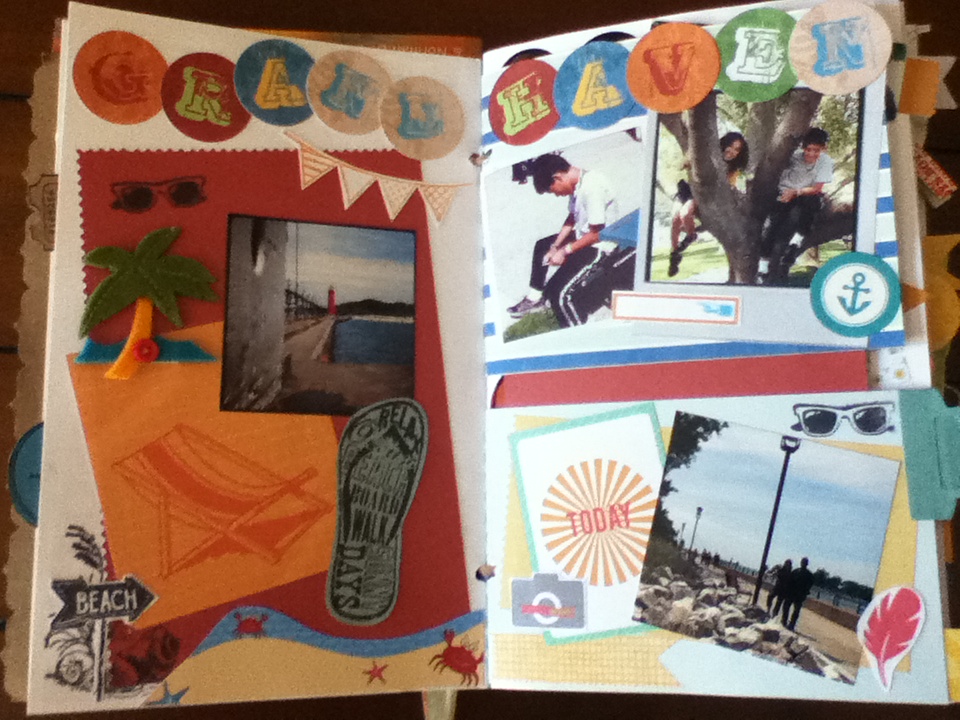
The next day at the beach was even more beautiful. The boys climbed the dunes several times and we could hardly get the kids out of the water.
| 
|
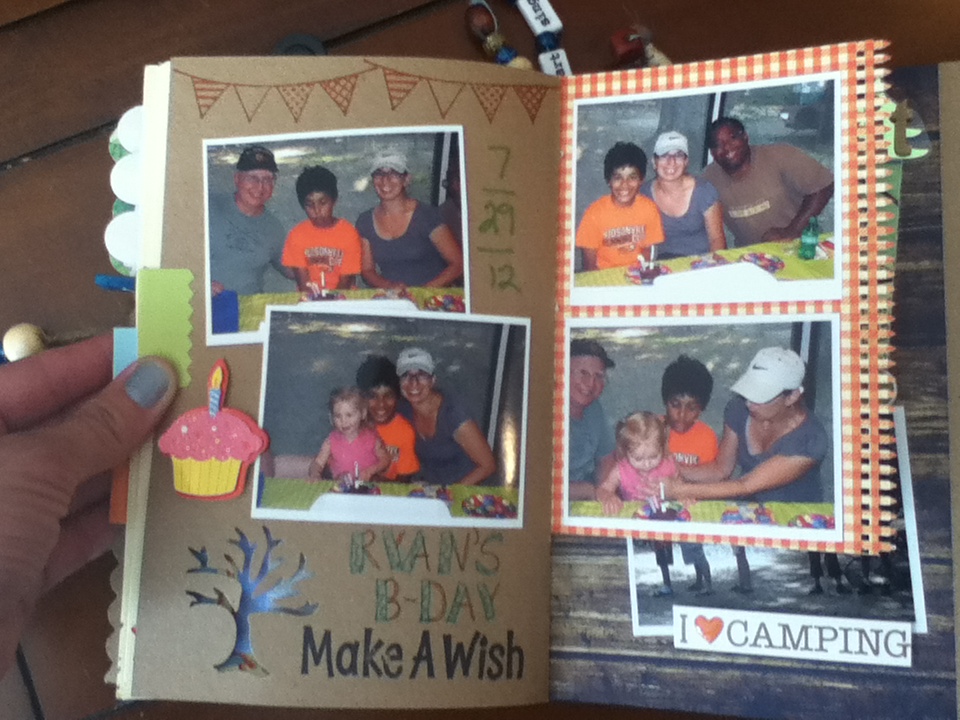
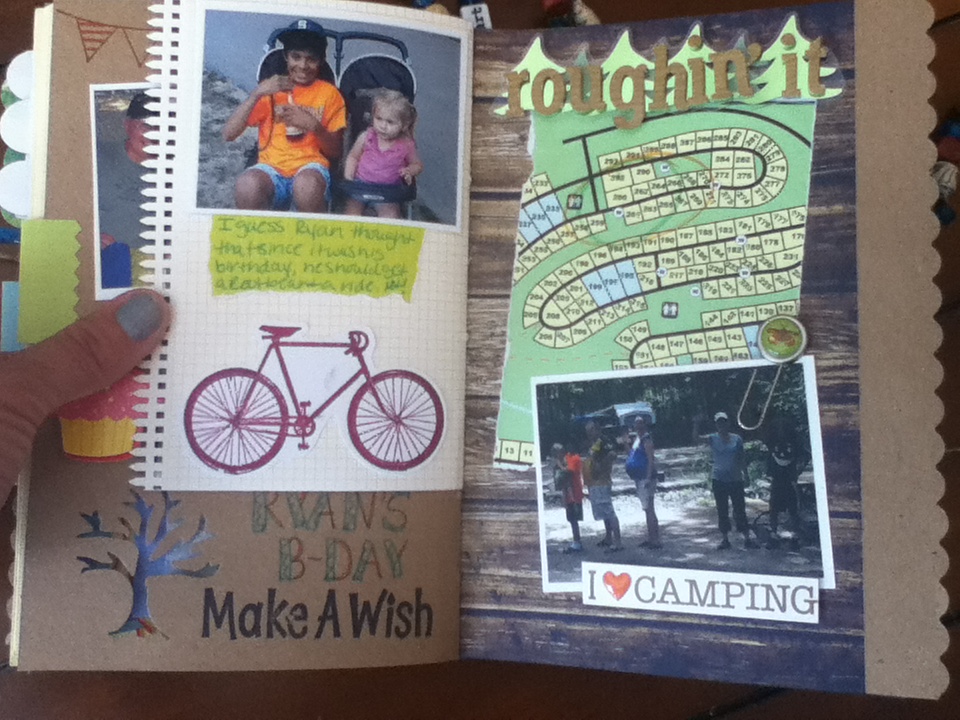
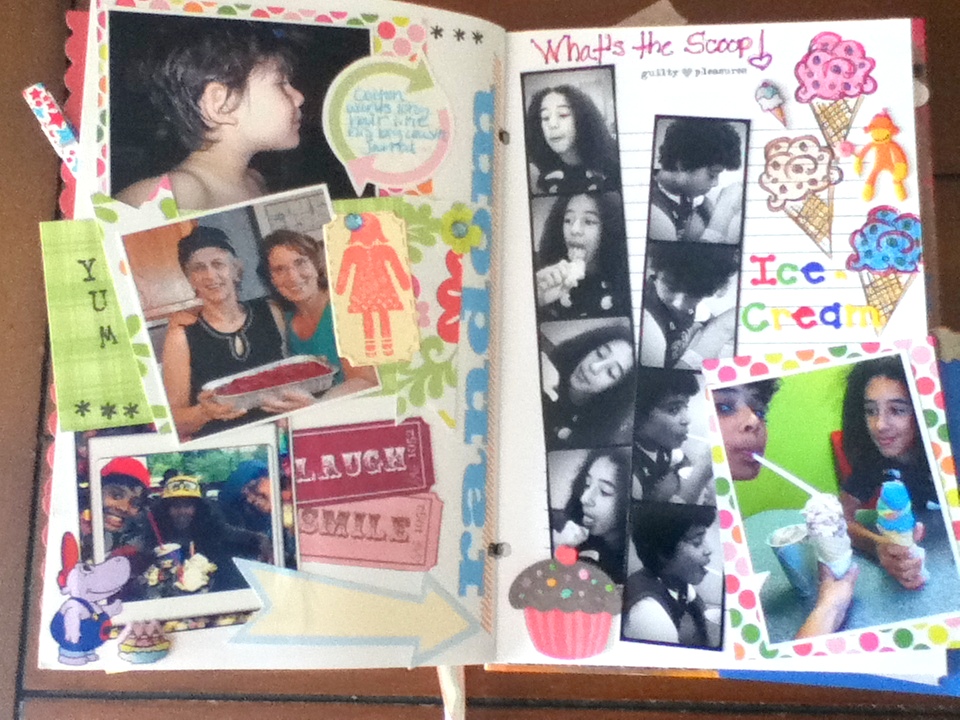
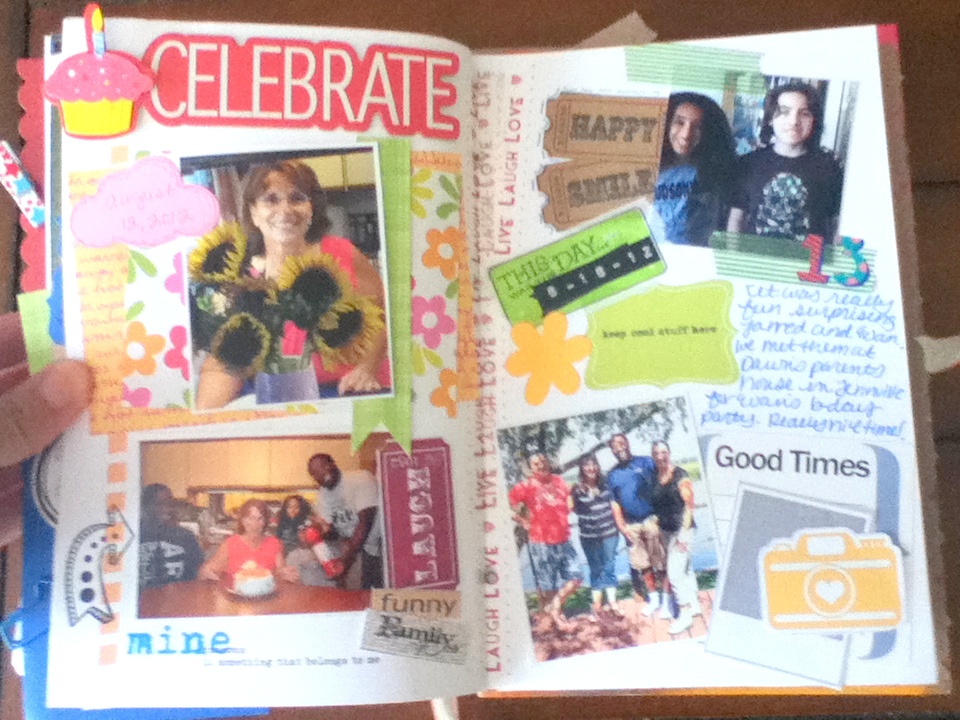
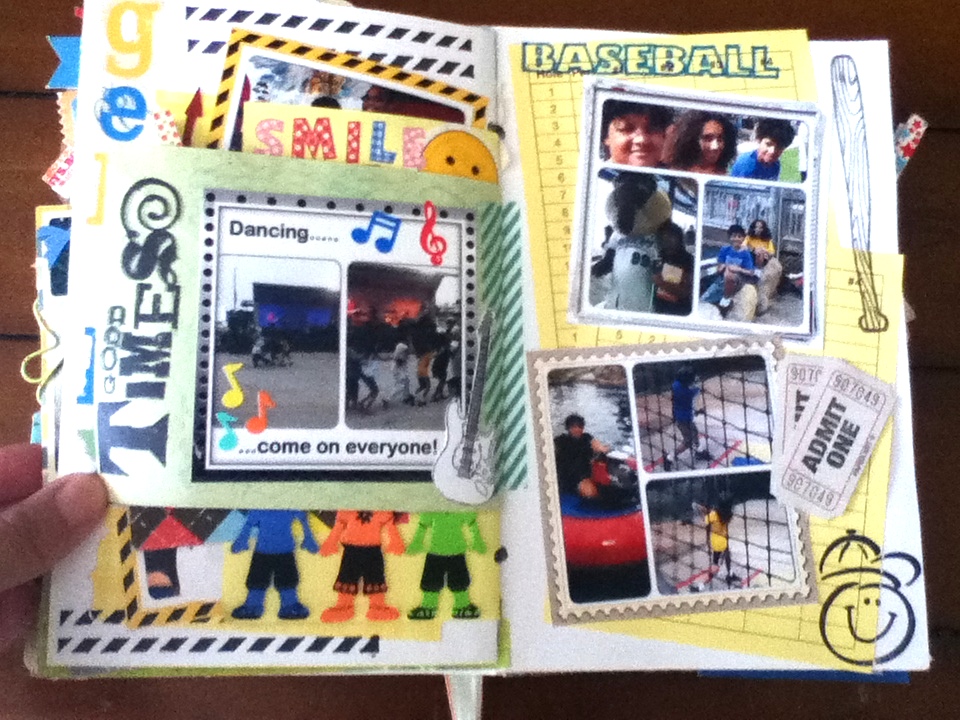
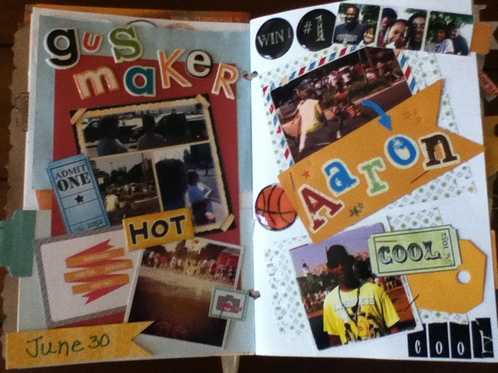
We always celebrate Ryan's birthday at family camping.
| 
|
As always, thanks for stopping by and I'd love to read your comments.
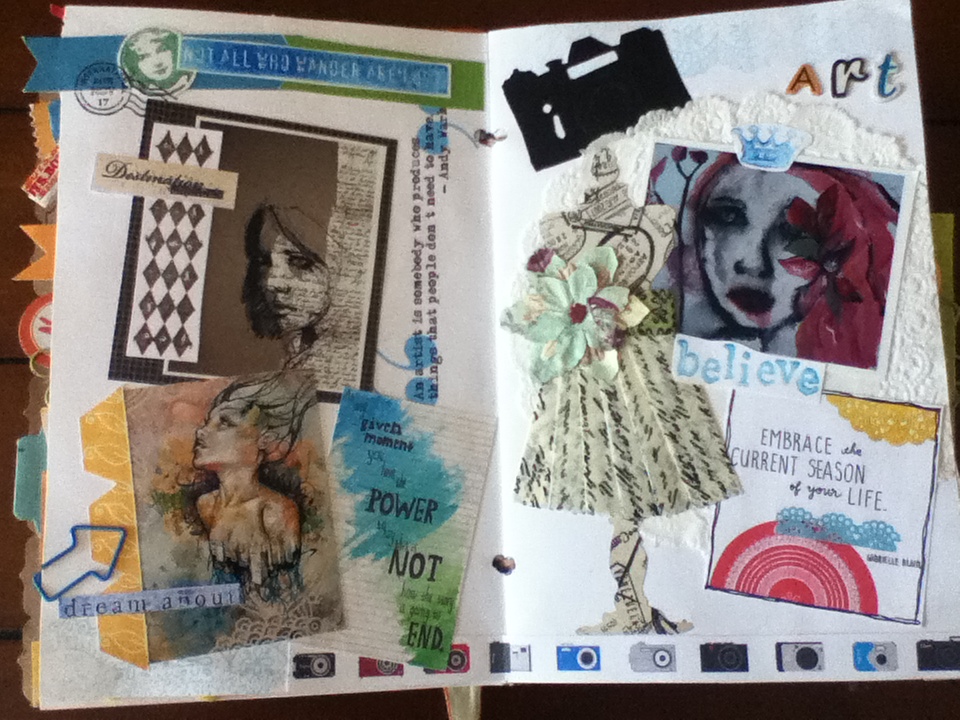
I'll be back later today for my day 8 of Traci Bunkers Get your Art On.
MiMi Dibble
THEscrapinator5000
I'll be back later today for my day 8 of Traci Bunkers Get your Art On.
MiMi Dibble
THEscrapinator5000


 RSS Feed