Happy Crafting,
THEscrapinator5000
MiMi Dibble
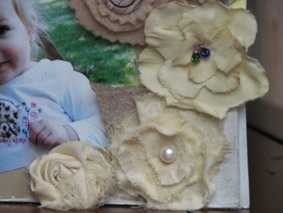
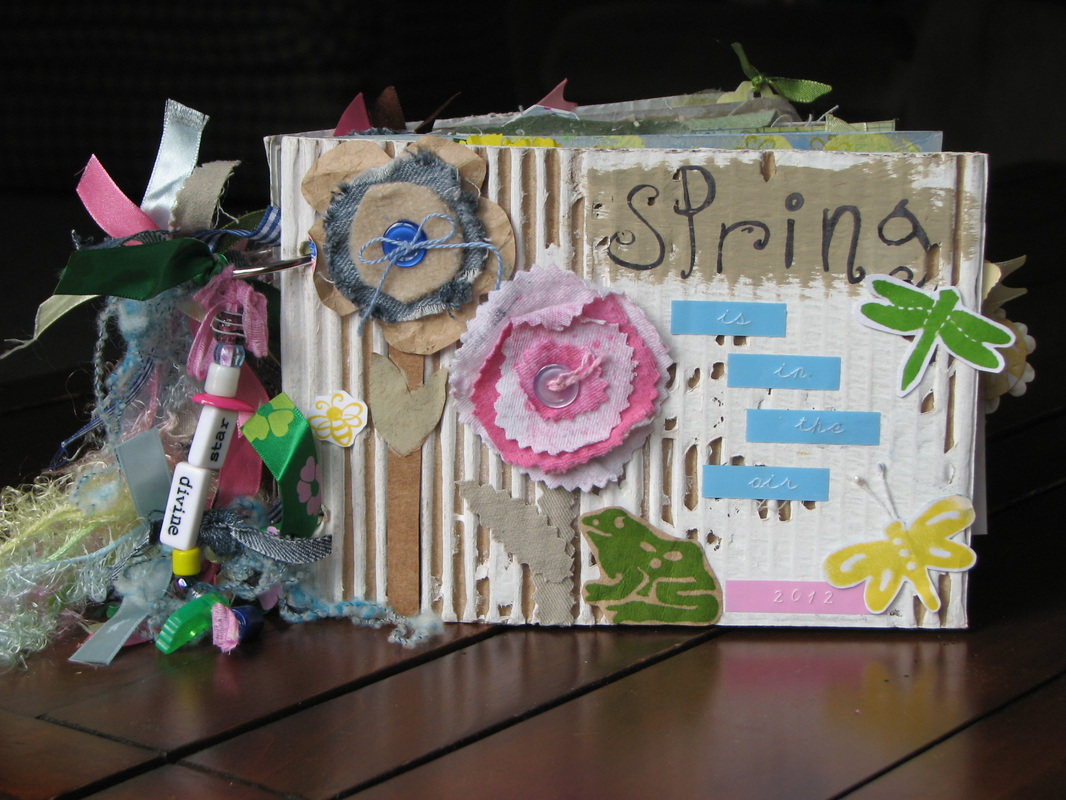
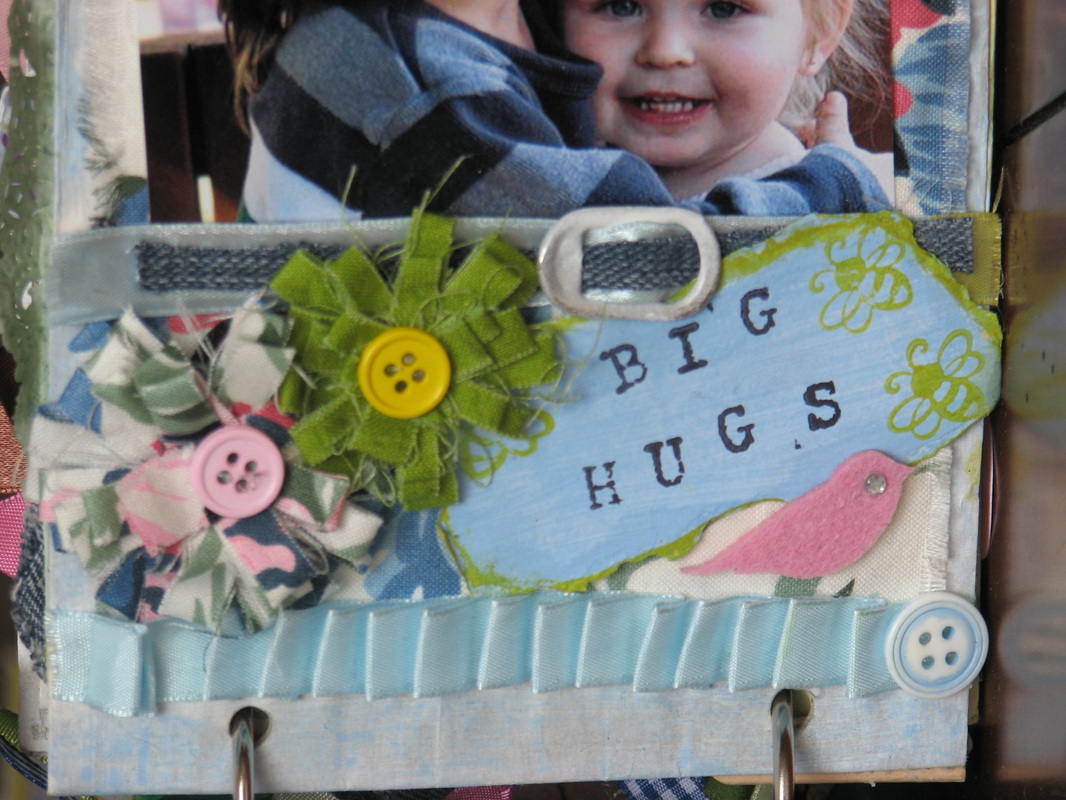
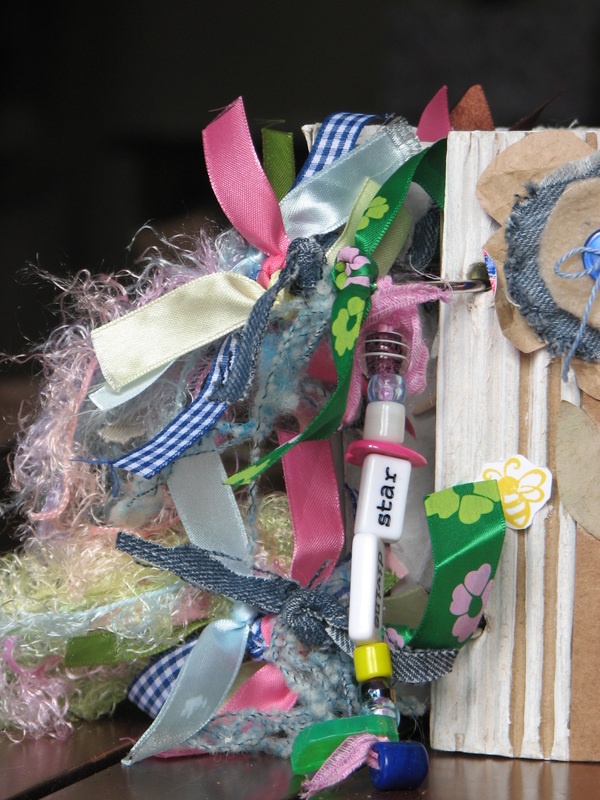
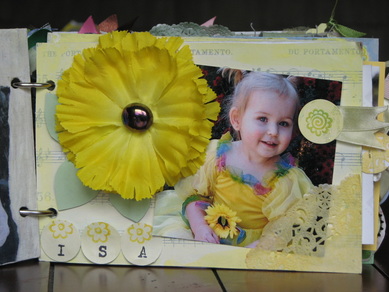
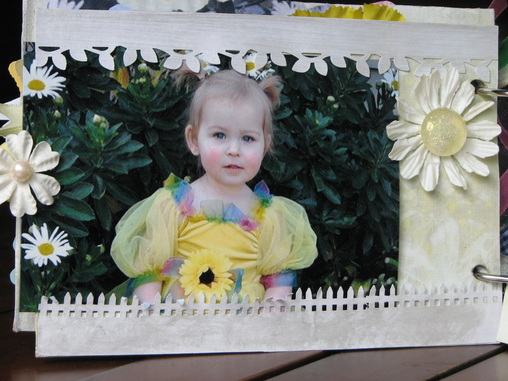
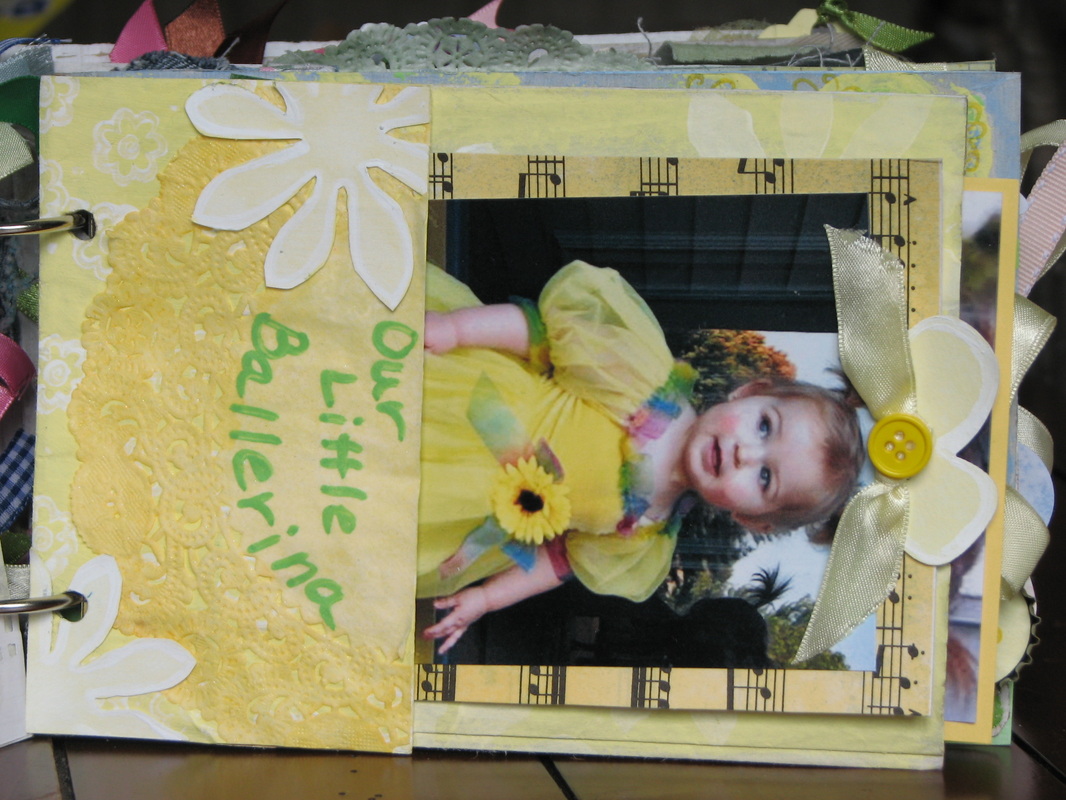
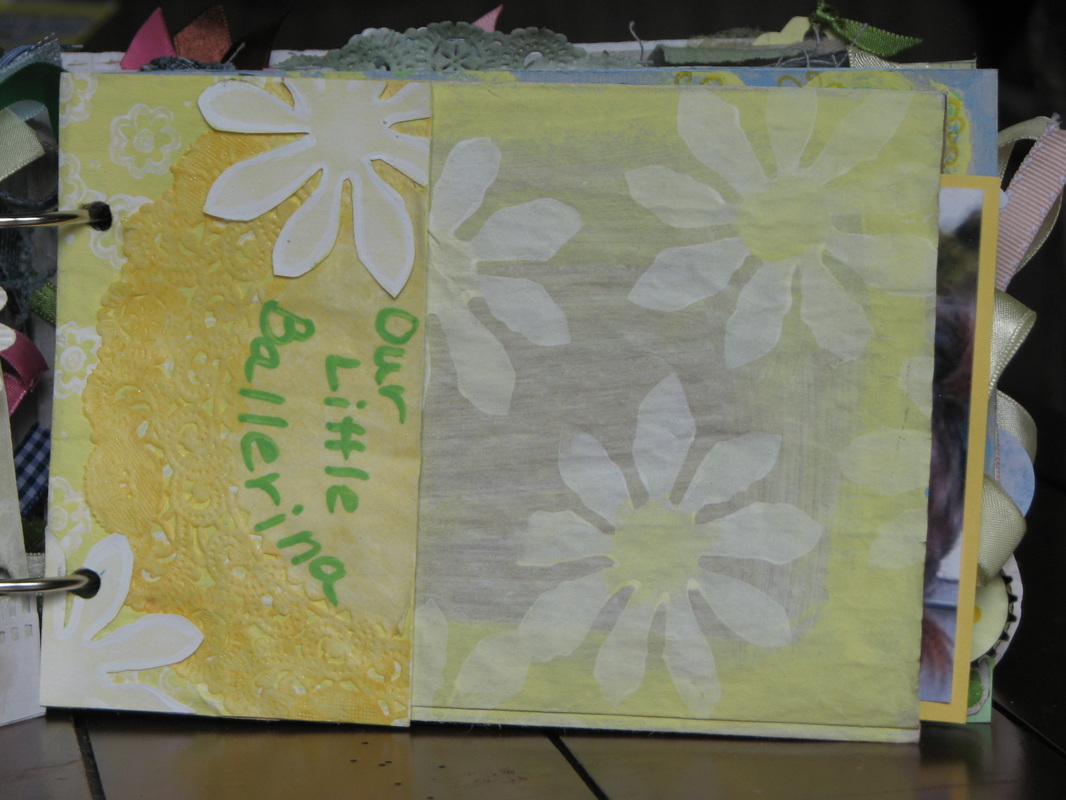
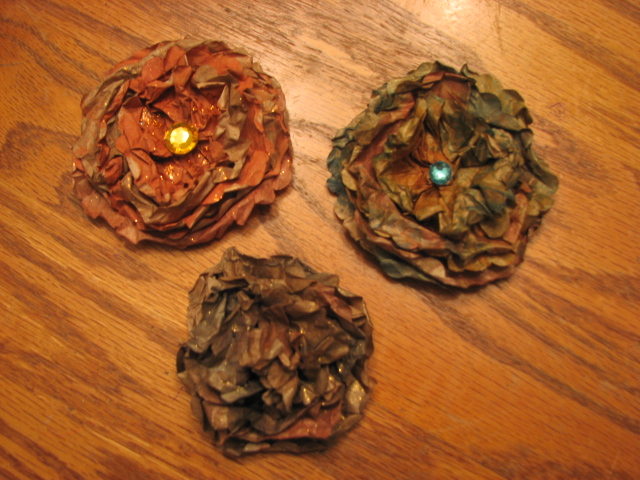
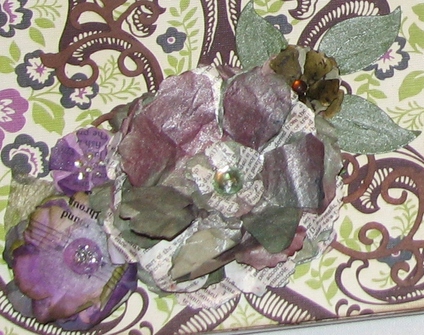
I have to confess, I've only bought flowers for my books, journals and crafting one time. I got two tubes of those Primas paper flowers, one colored and one white so I can spray or paint them the color I need. I make all the rest and thought I'd share some with you. 
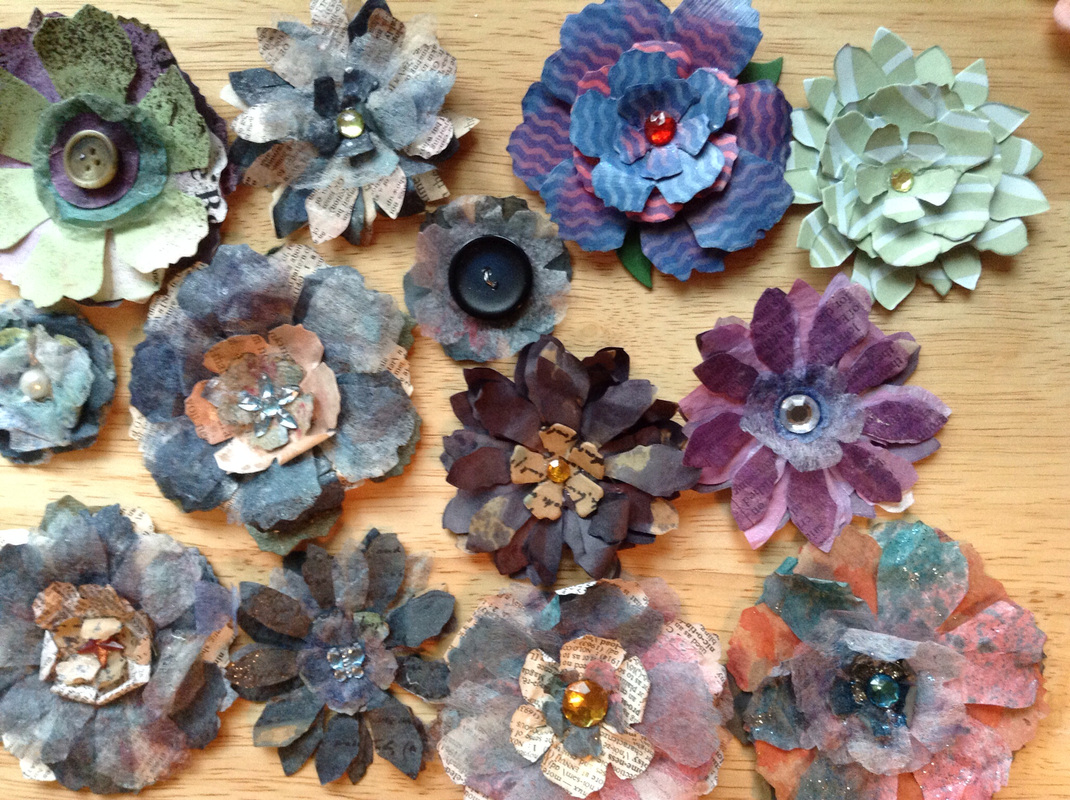
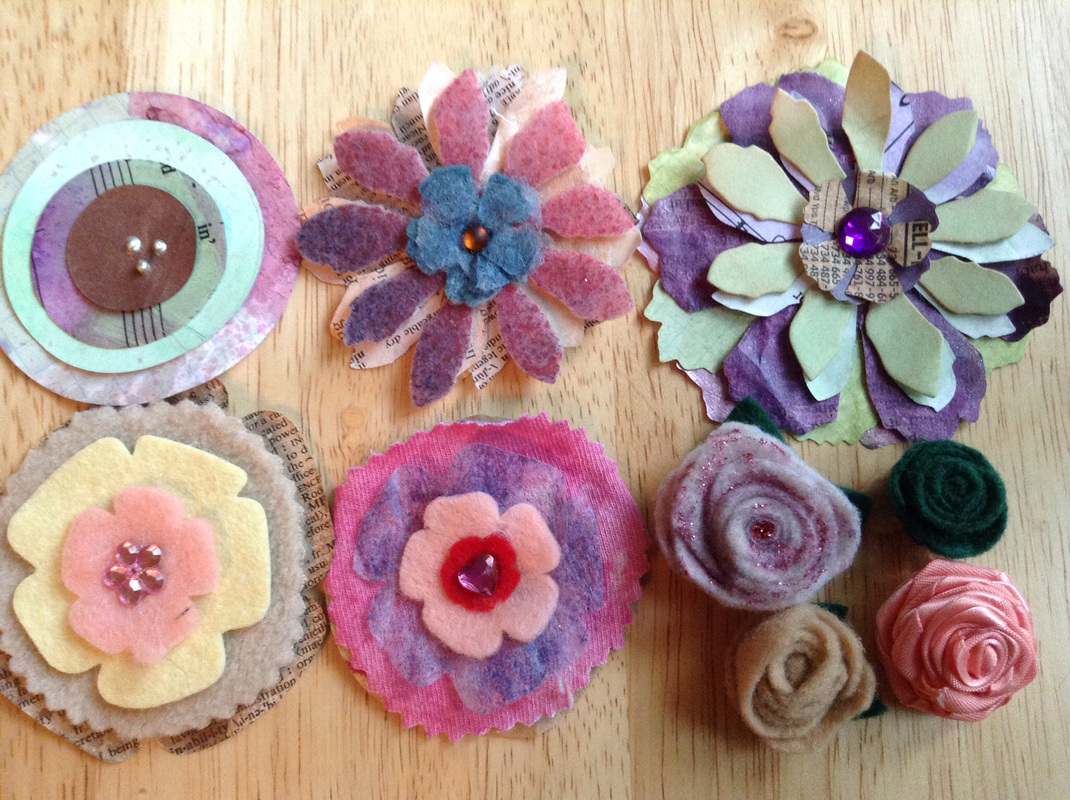
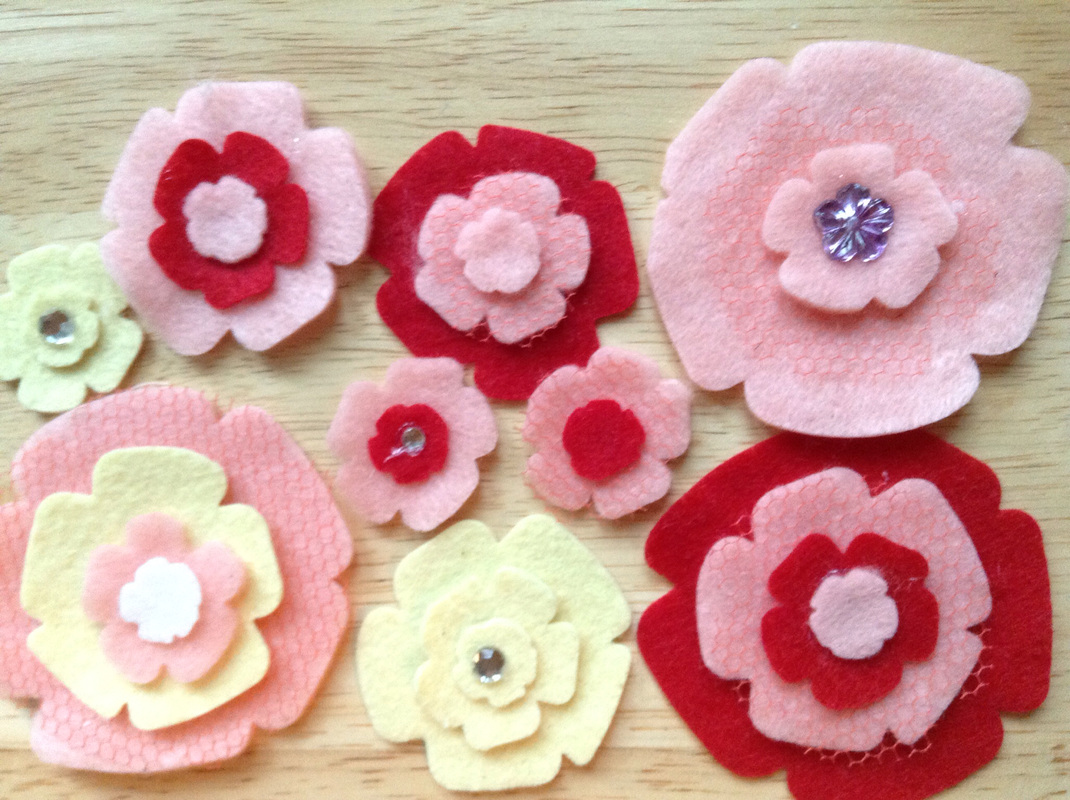
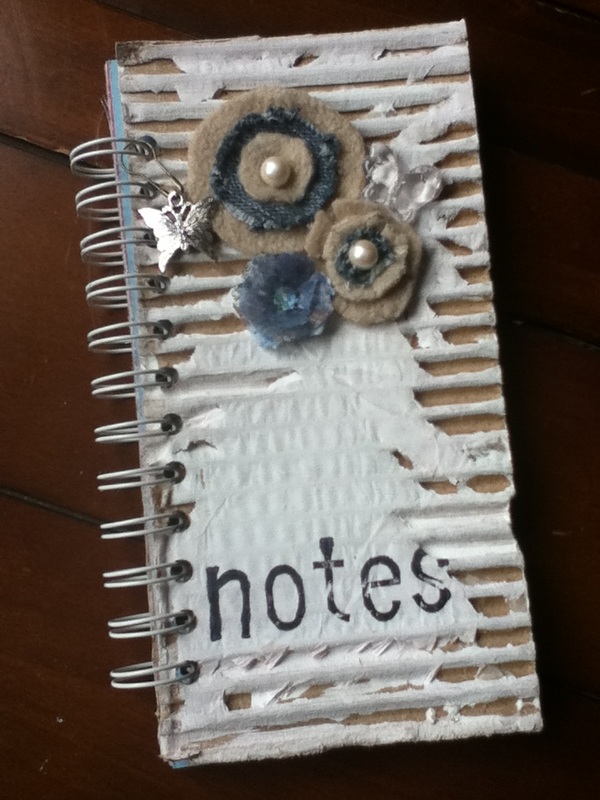
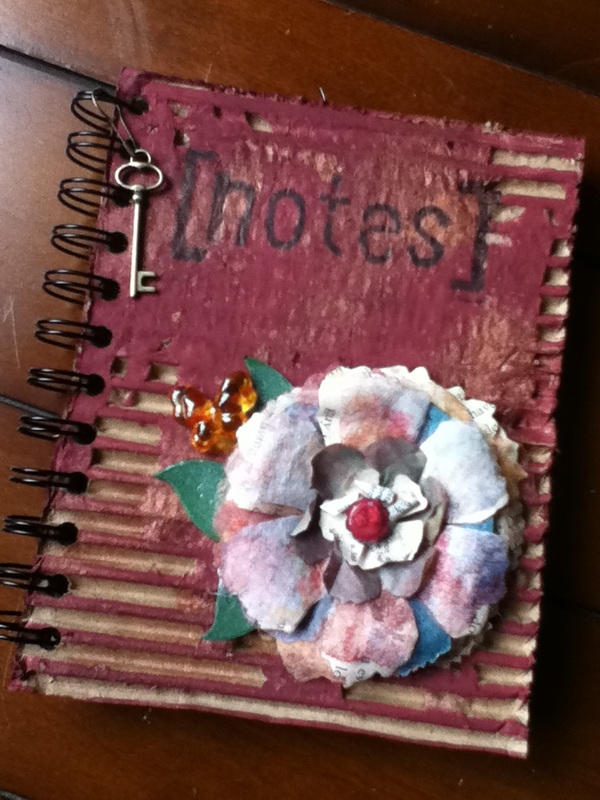
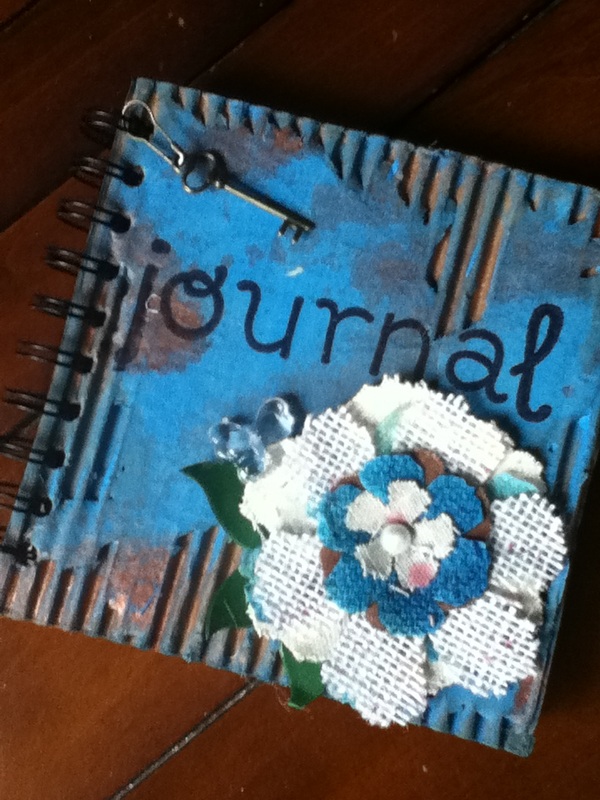
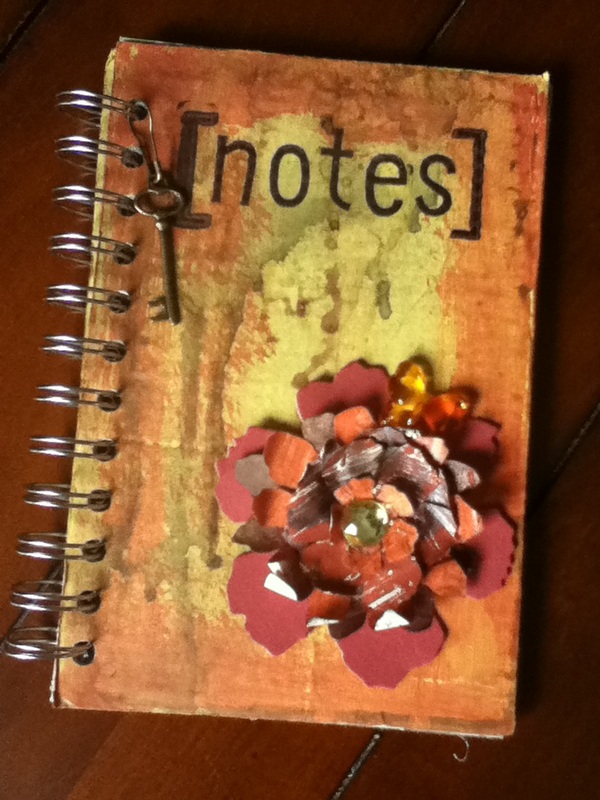
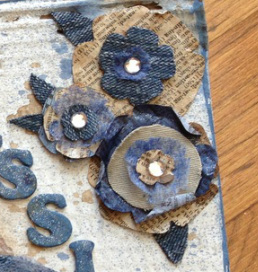
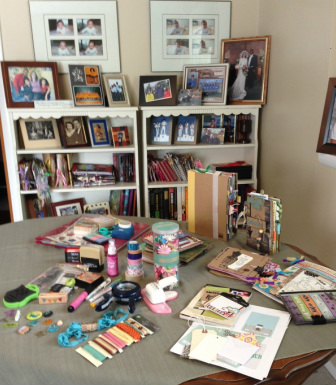
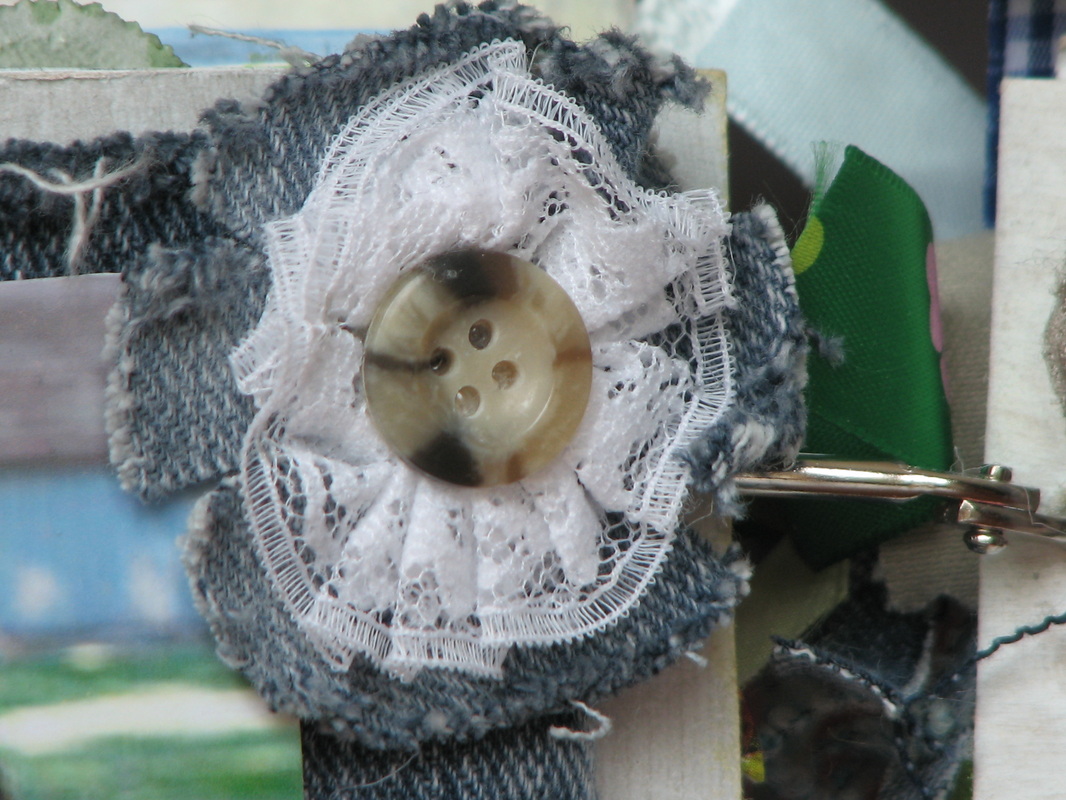
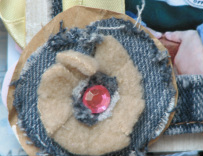
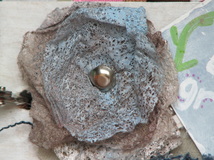
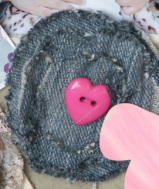
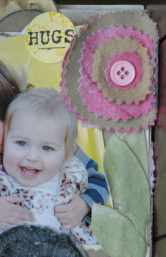
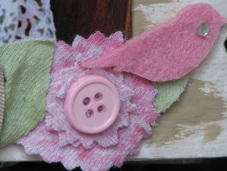
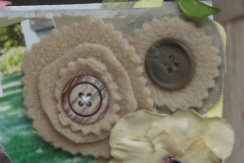
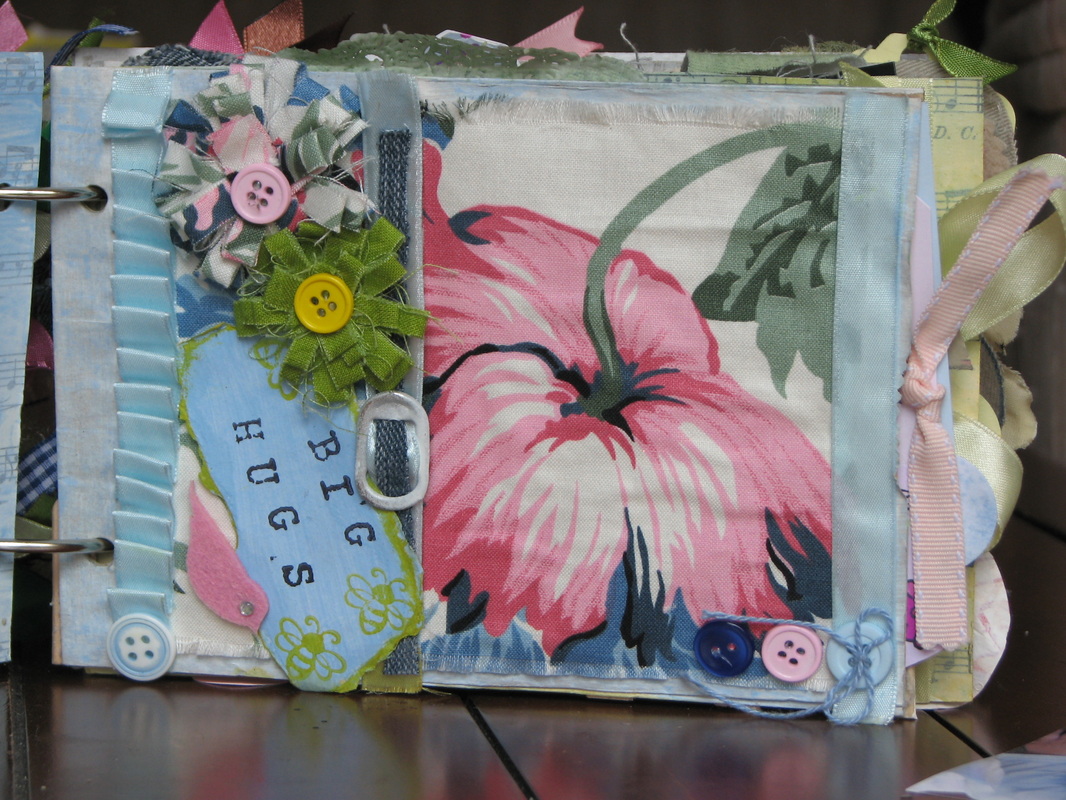
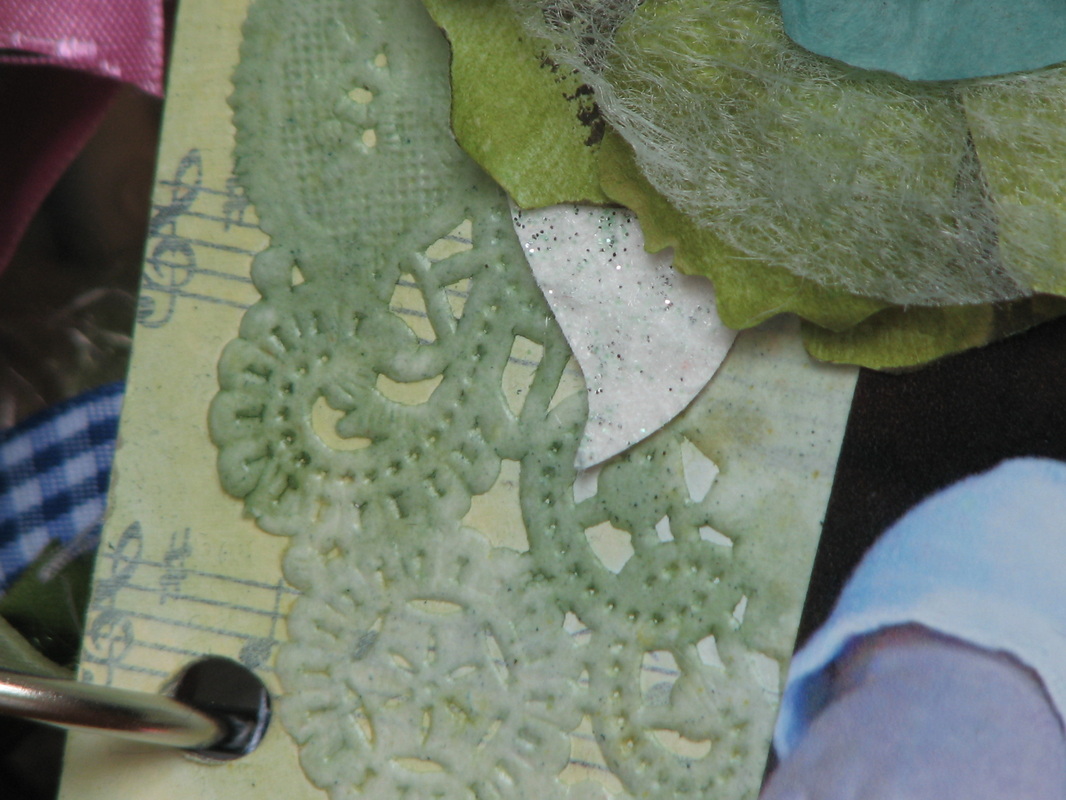
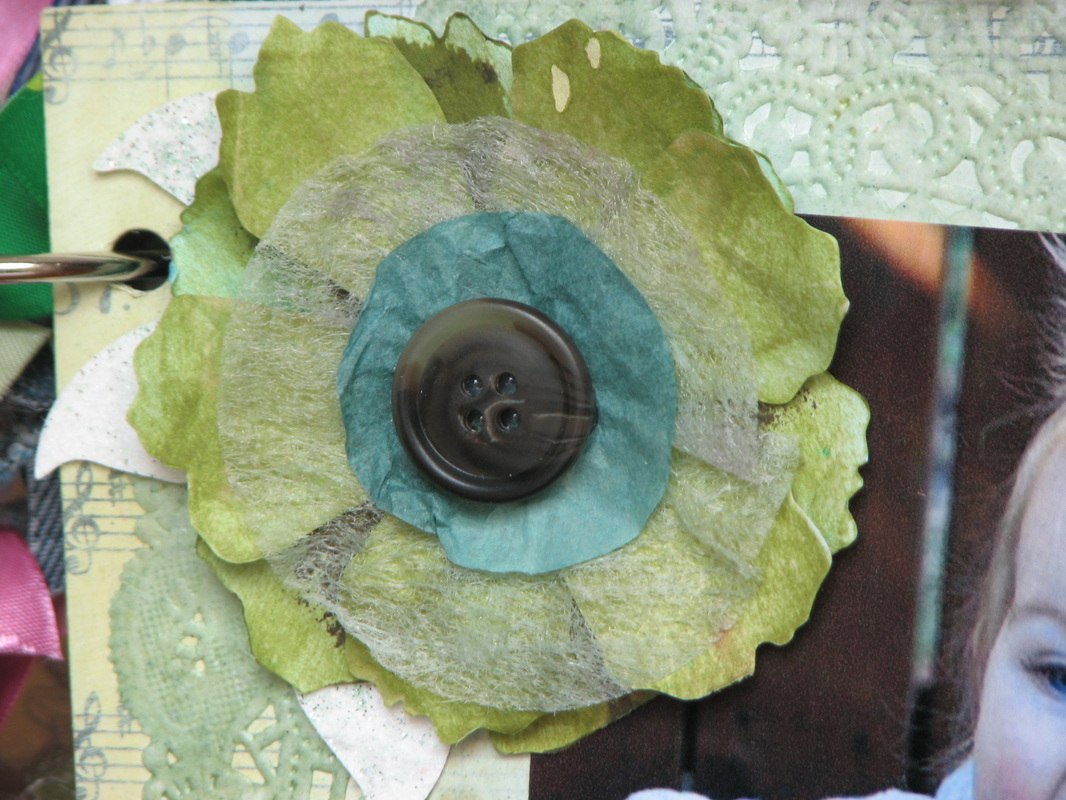
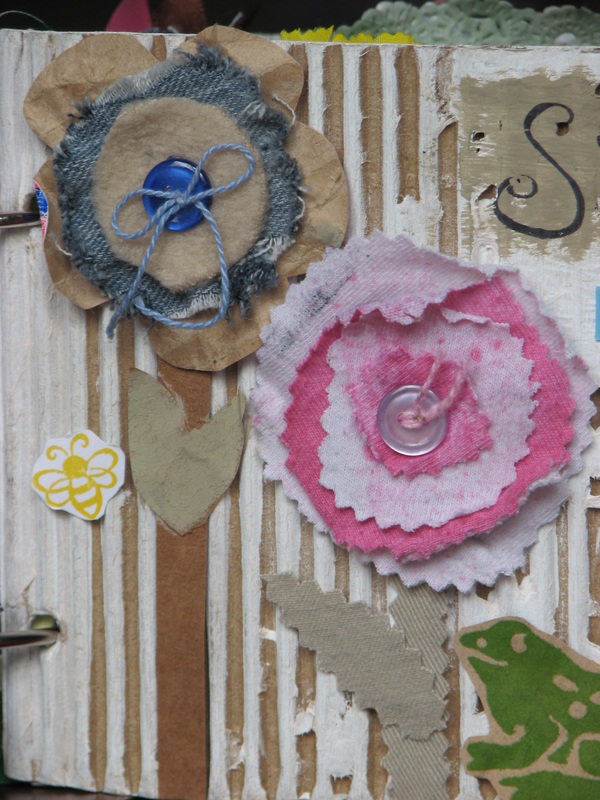
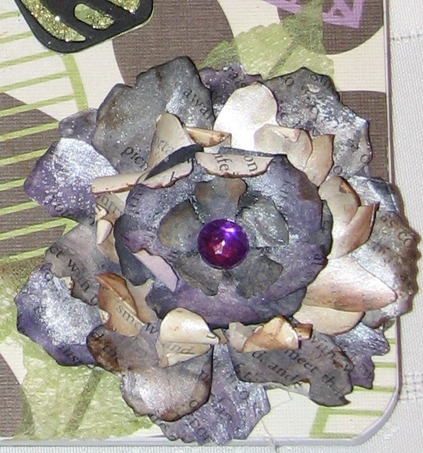
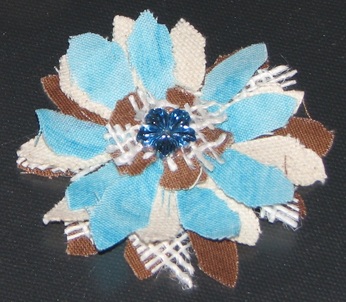
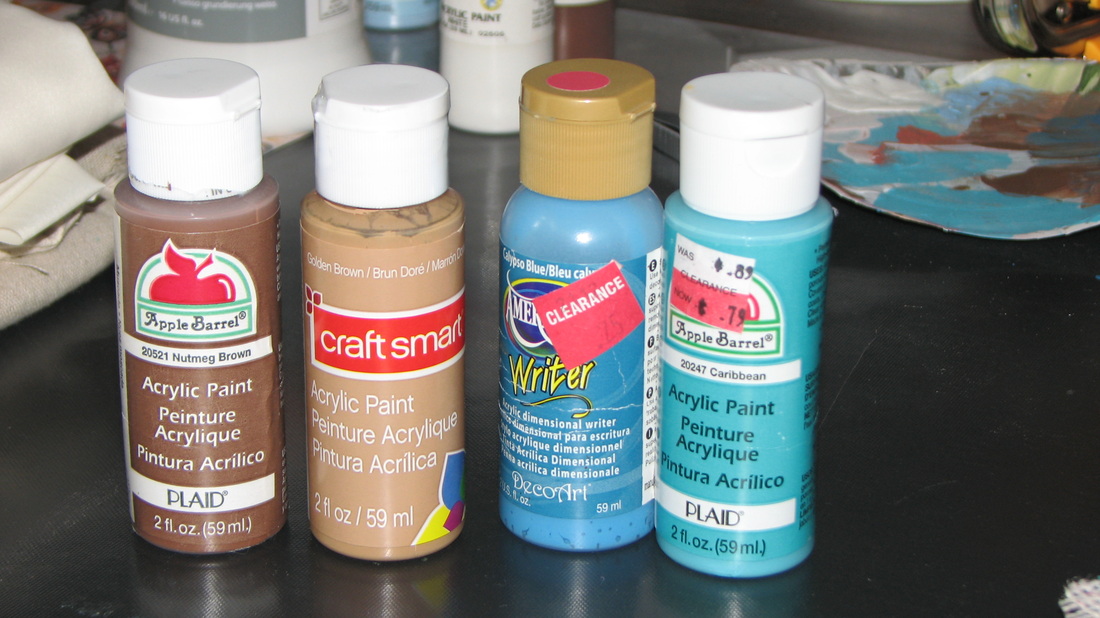
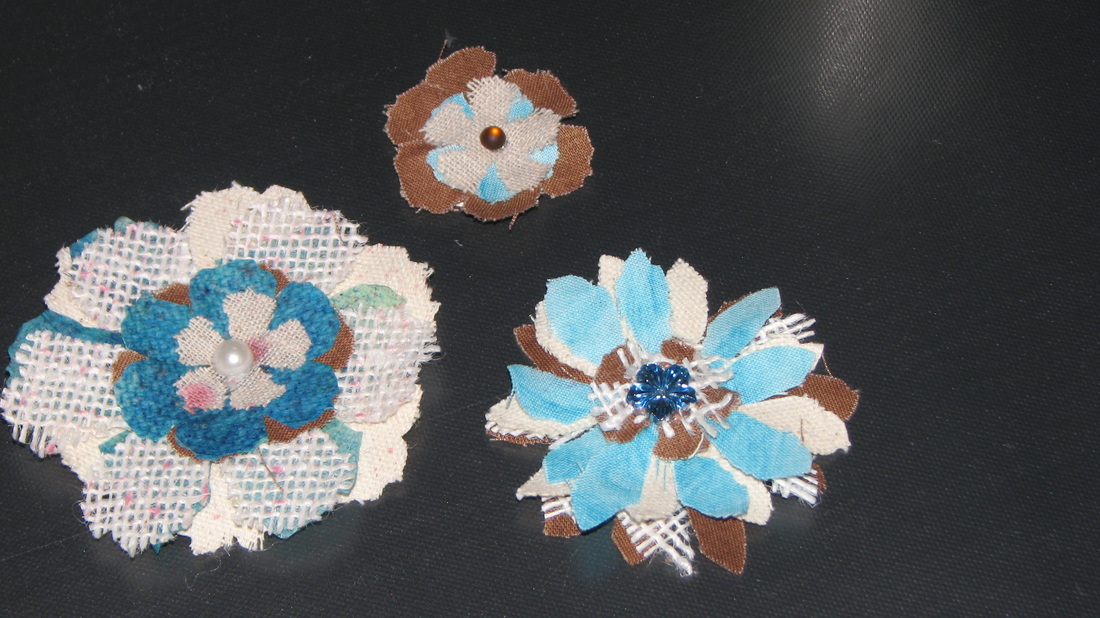
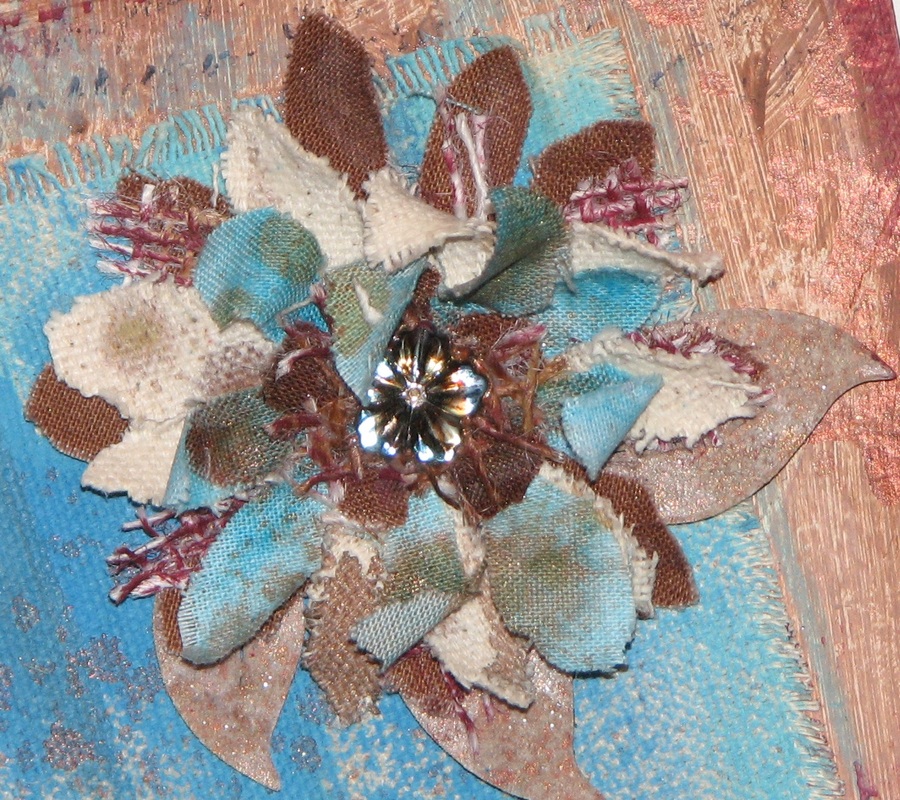
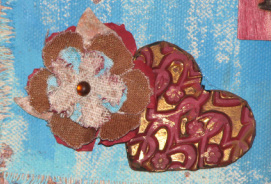
I make flowers out of lots of different materials such as: scrapbook paper, book pages, paper bags, packing material, tissue paper, used dryer sheets, felt, napkins, old coffee filters, music sheets, used paper towels and material scraps. I also use old clothes such as fleece, t-shirts, khaki pants, jeans and old dress shirts. 
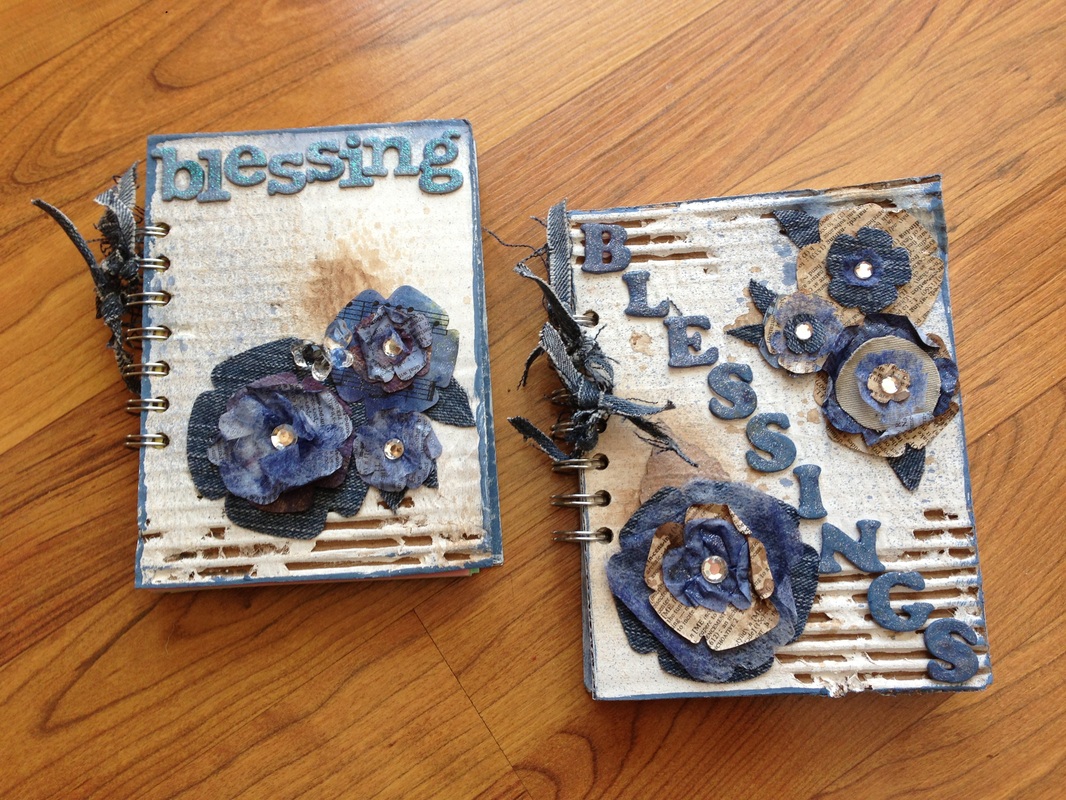
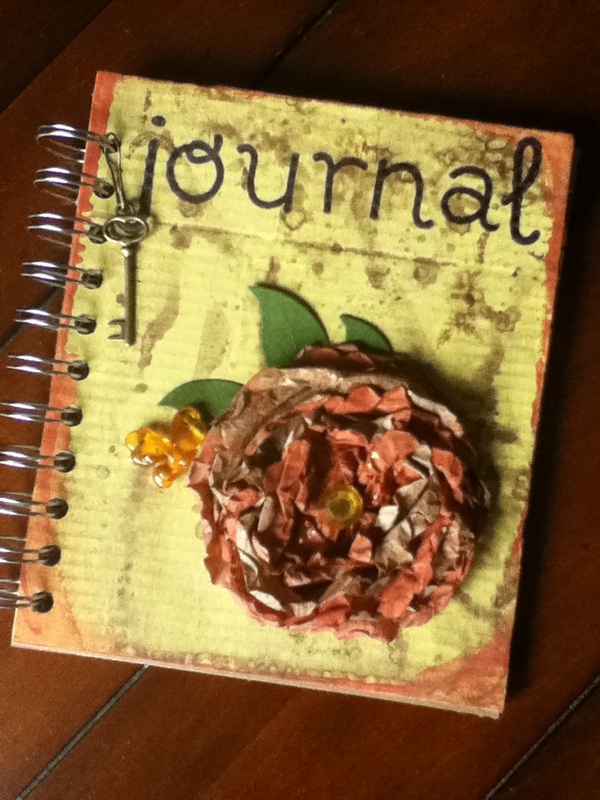
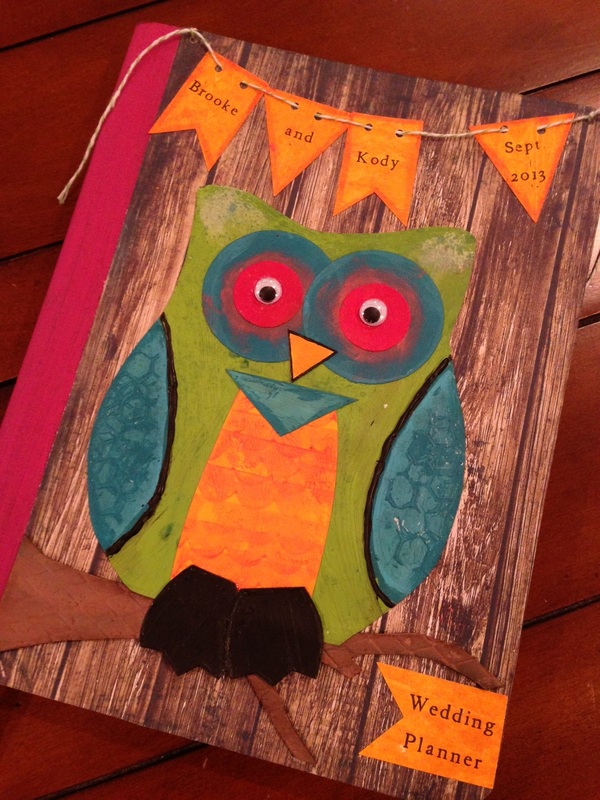
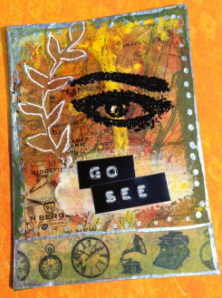
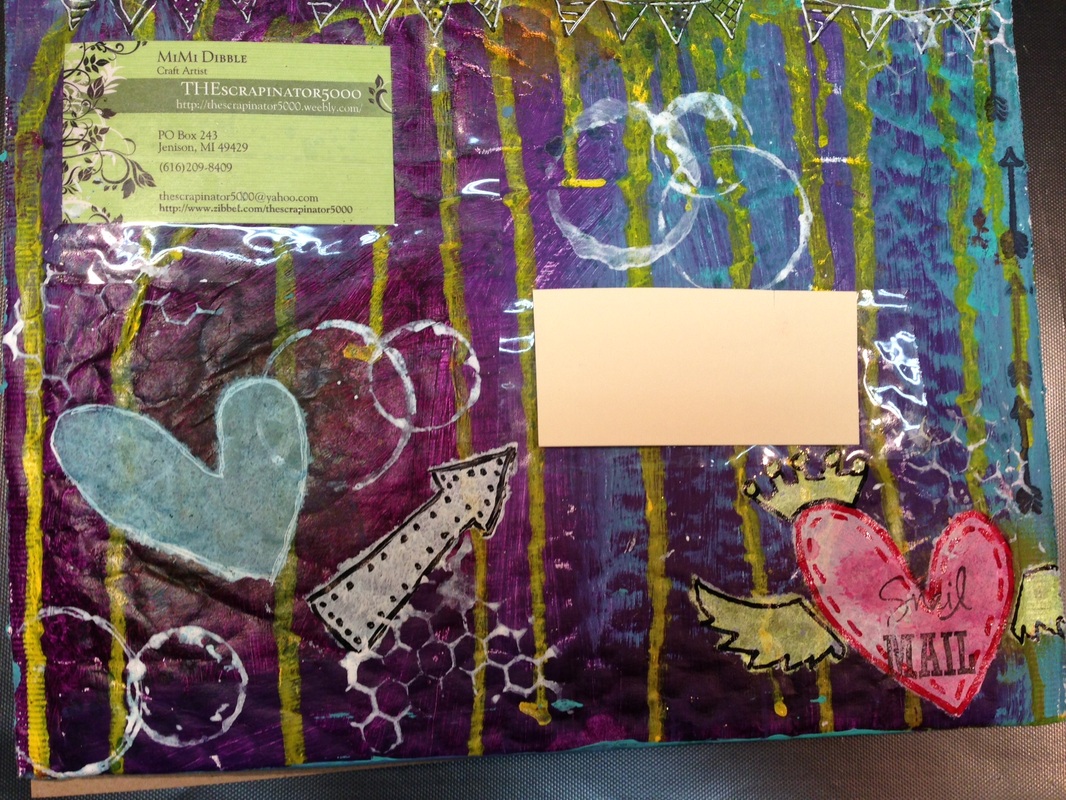
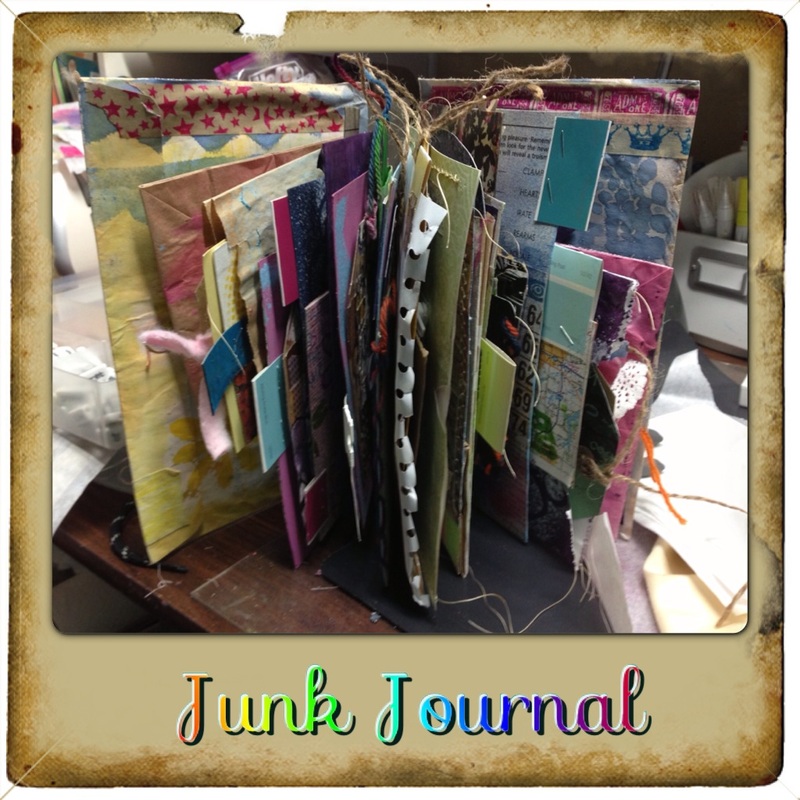
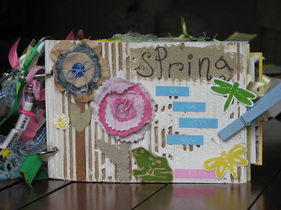
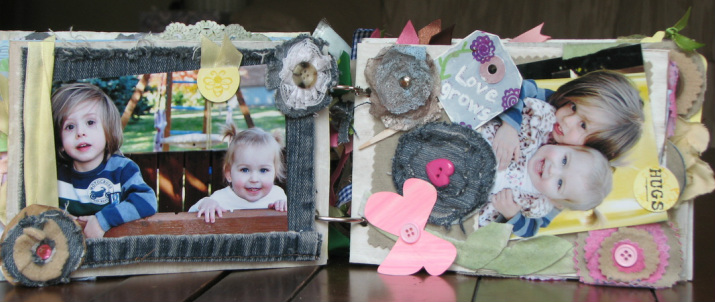
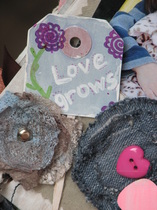
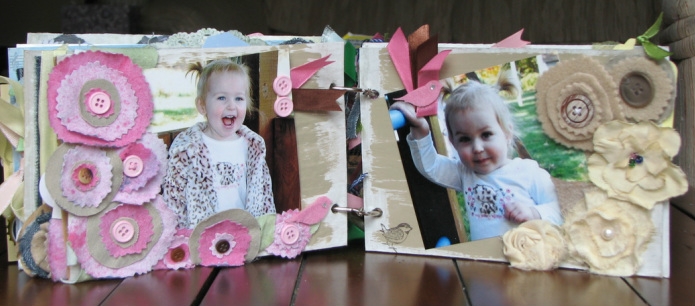
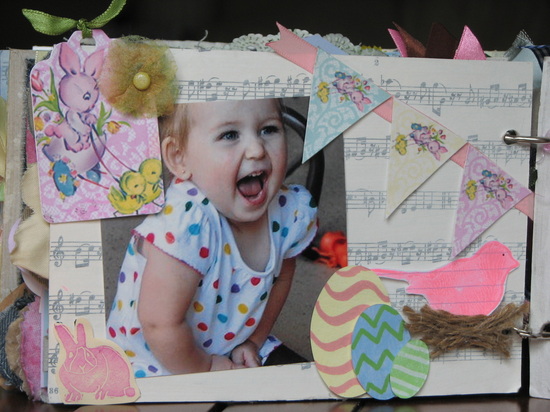
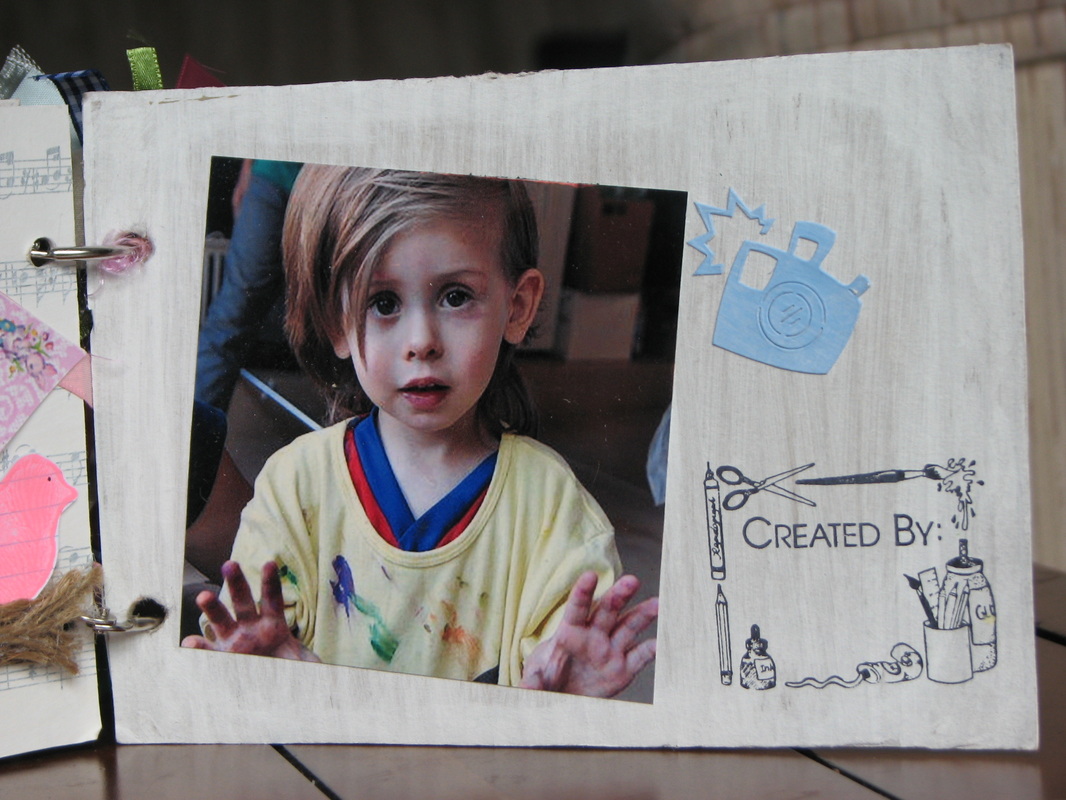
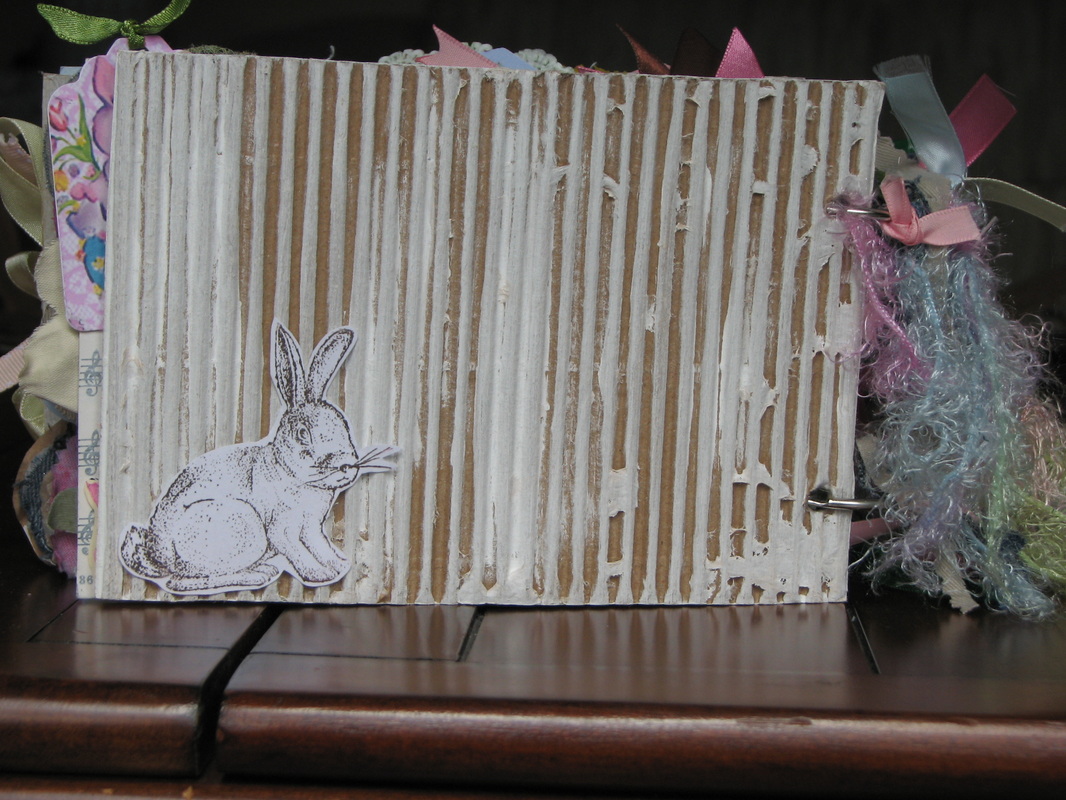
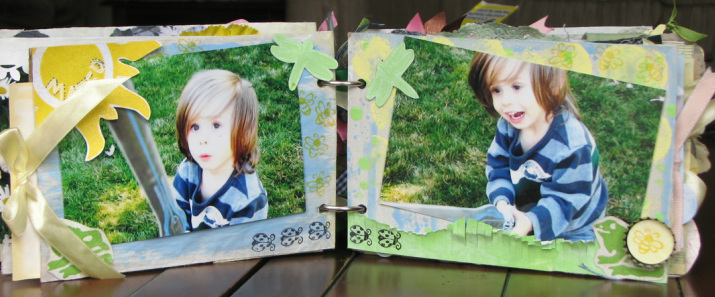
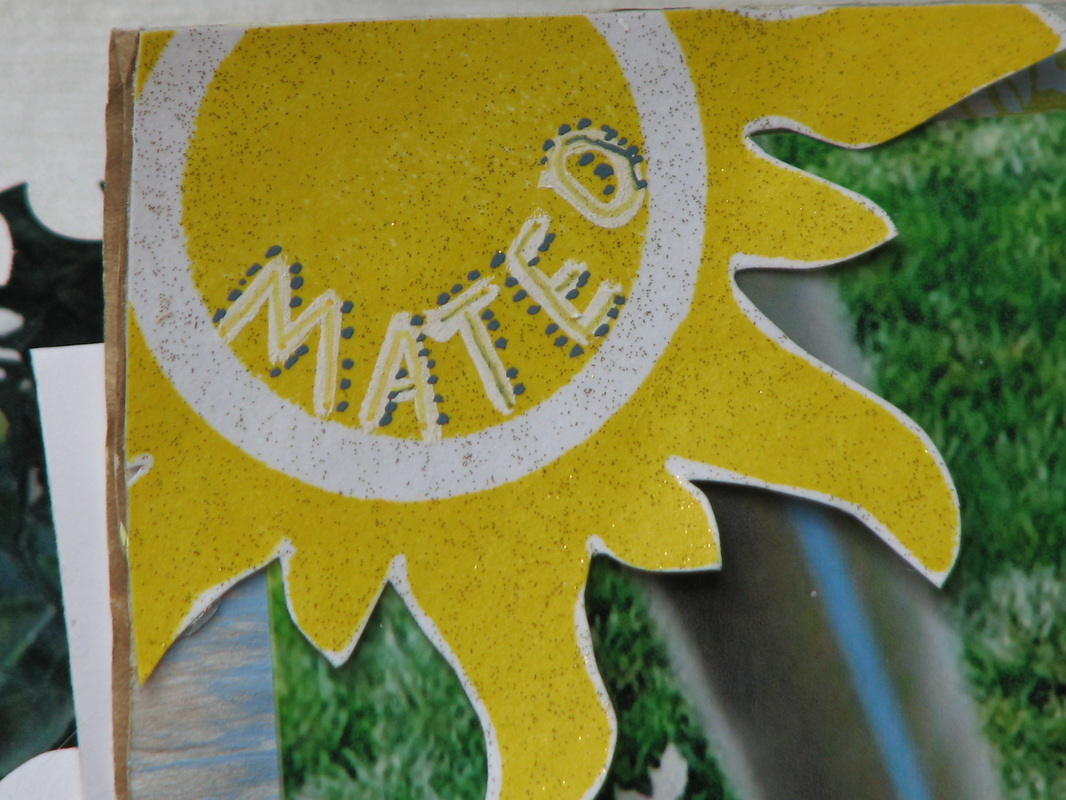
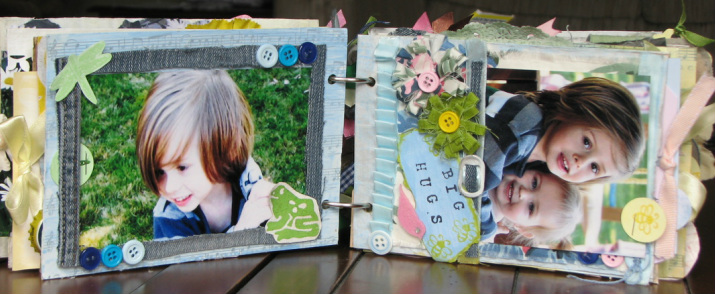
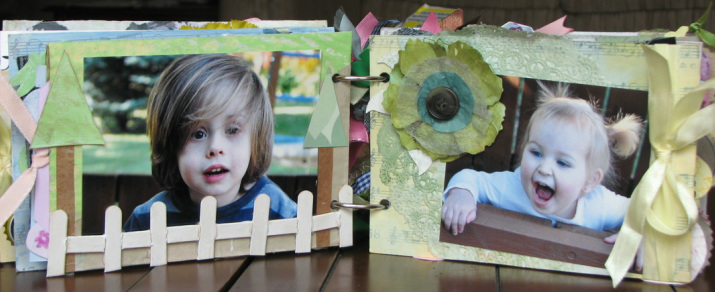
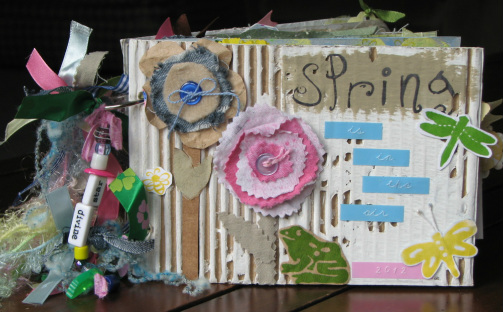
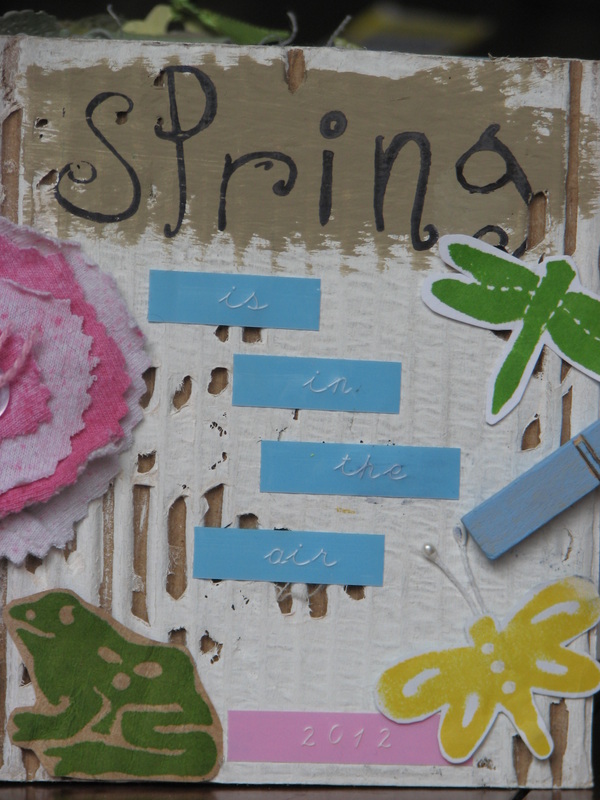
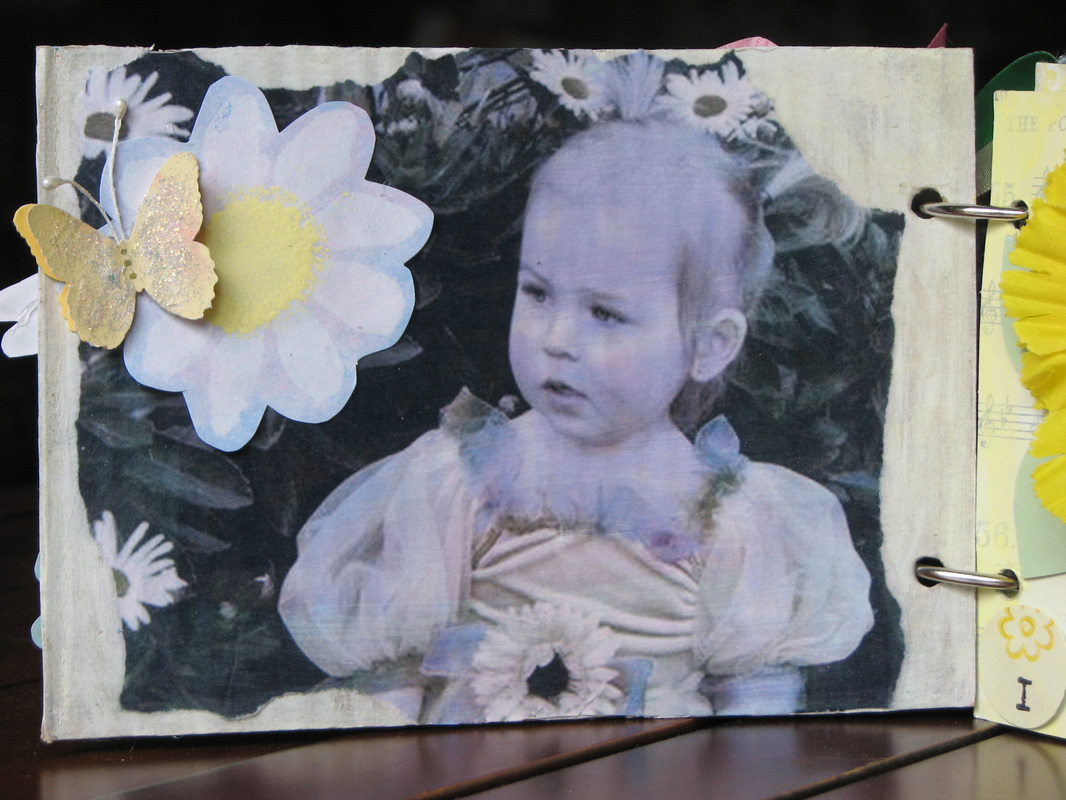
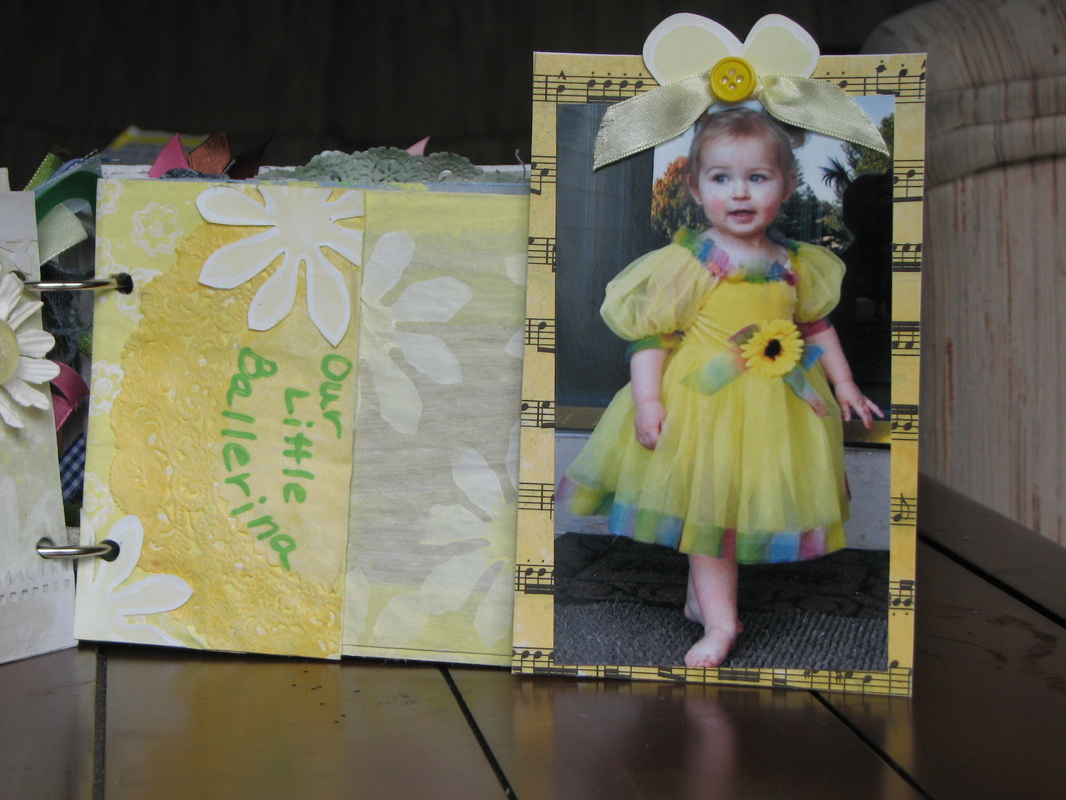
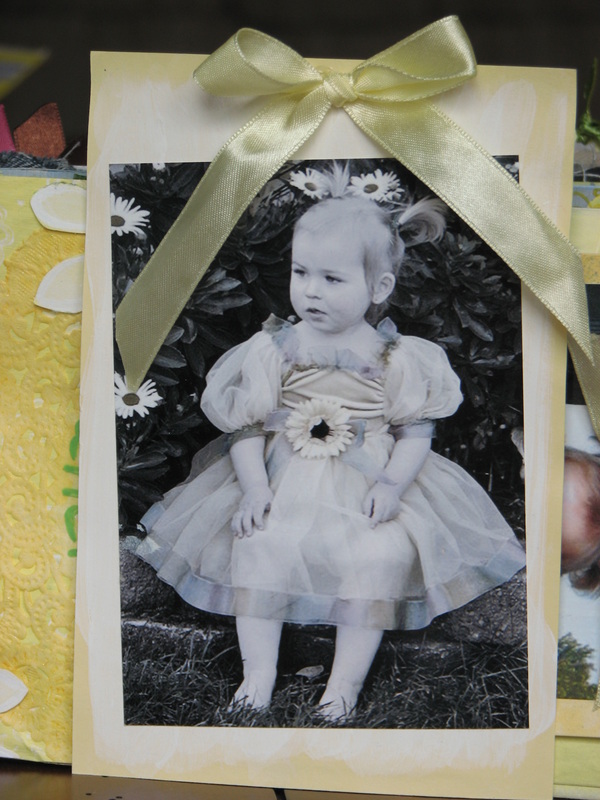
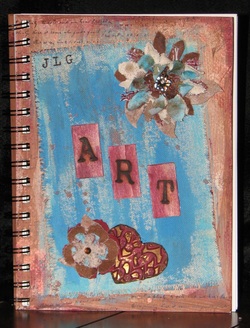
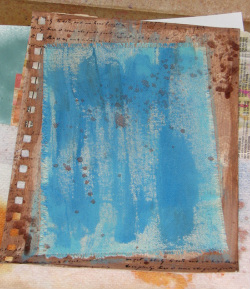
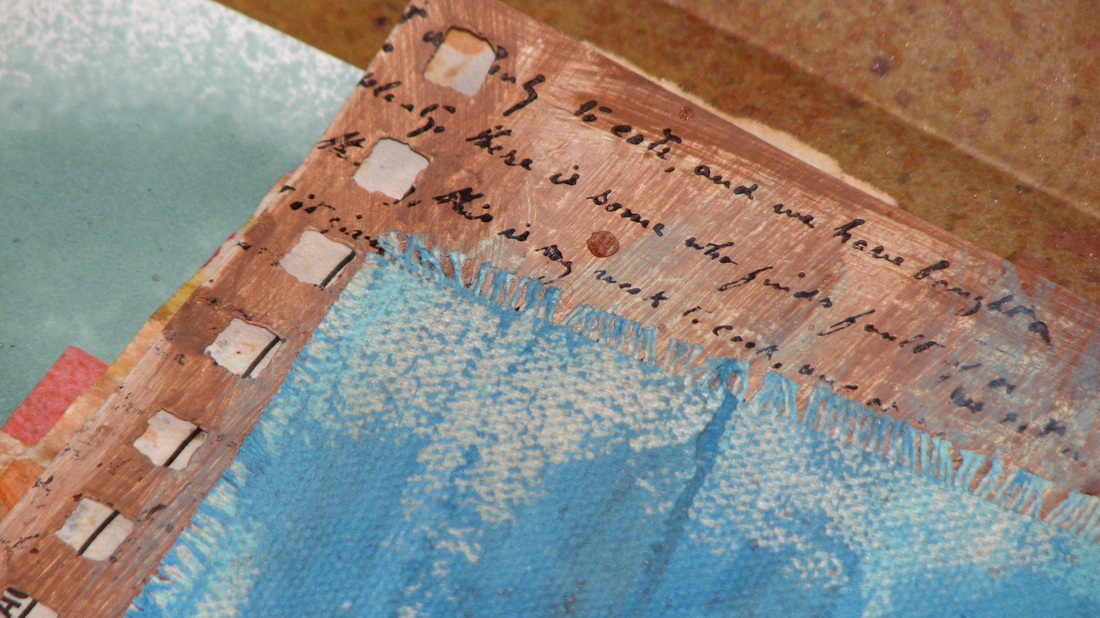
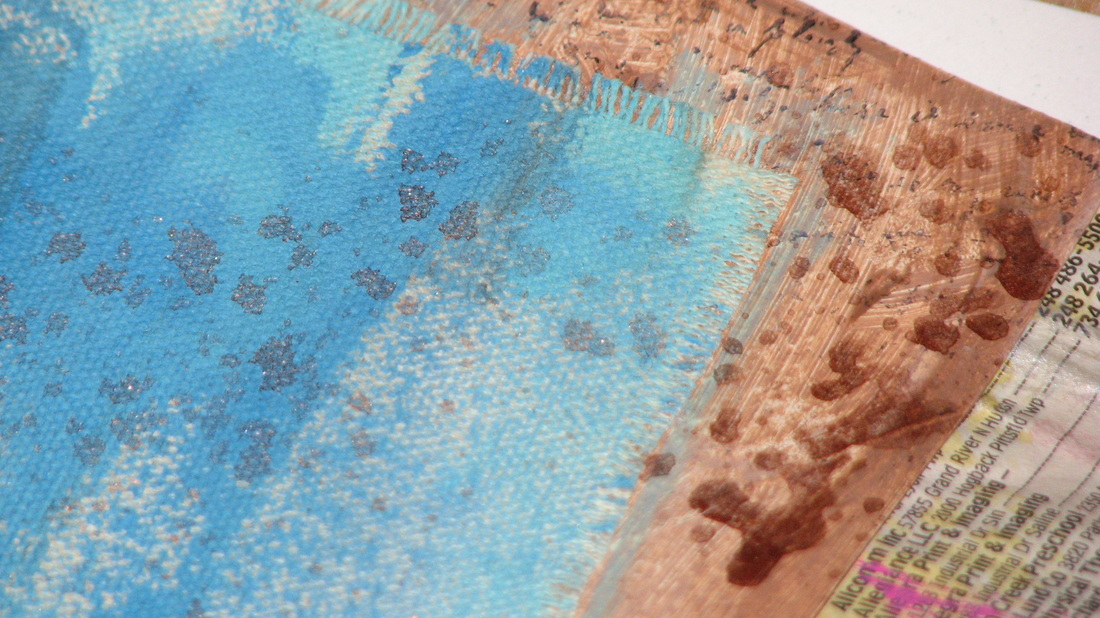
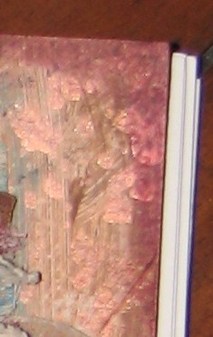
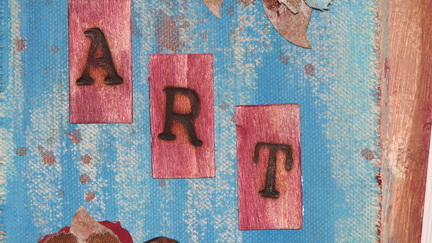
These are some journals and note books I made that all have flowers on the covers. Thanks for stopping by.
Happy Crafting, THEscrapinator5000 MiMi Dibble
3 Comments
I have some projects I have been working on over the last few weeks and wanted to do a quick share. The Wedding Planner and Blessings journals are custom orders for customers. The ATC and Mail Art are for swaps I was in on facebook. I'll also have a sneak peak of my recent TV shoot and a junk journal I made that will be part of a series of posts in April for Earth Month. Owl Themed JournalI was asked to make this journal that will be used as a wedding planner. The bride is having an outdoor wedding, loves owls and bright colors. The journal is made from a composition notebook. The spine has been painted and the wood paper I used is a printable called "Grunge Planks" by Tsunami Rose Designs. You can view that printable here. She creates beautiful printable papers as well as journal kits. Blessings JournalI was asked to make a journal for a customer who wanted to focus on the Blessings in her life. She wants a journal that she can write down and keep track of all the things that bless her life. I love the idea and really believe that being positive and grateful are so important so I decided to make two of them. She will select one and the other will be placed in my shop here. The link it also above in the menu bar. The covers are made from old corrugated boxes that I painted and sprayed. I boud the books with my Cinch. The letters are Thickers and foam alphas that I sprayed to match. I don't normally decorate the back of journals other than paint or decorative papers. I decided to on this one because I had so many flowers left over and was having so much fun with them. The home made flowers are all made from recycled materials such as music sheets, old book pages, paper towels used to wipe up paint and sprays, used dryer sheets and old jeans my boys grew out of. I colored all the papers with either Walnut Stain (love that stuff!!!) or my home made sprays made from Rite Dye (Denim Blue) and 91% alcohol. I cut them out using the Sizzix die called Flower Layers. I cut the leaves out free hand from the jean scraps. I used some inexpensive crystals for the centers and glued them together and down to the journal with hot glue. The inside of both the front and back covers were painted and stenciled using the negative from a die cut using Tim Holtz Tattered Florals die. I just love doing that and using those negatives as stencils. It's a really great way to upcycle and use your scraps instead of throwing them away. One of the journals has cream colored papers and the other has a fun variety of colored papers.
TWO EXCITING SNEAK PEAKS....Thanks so much everyone for stopping by. I'd appreciate any comments and feed back you have for me.
MiMi Dibble THEscrapinator5000 This will be the last installment in the Recycled Mini Albumn series. I will cover the last 5 pages and the back cover. I have really enjoyed doing this series. I love to recycle and hope it has inspired you. I call pages 11-14 the flower pages because they are FILLED with flowers. There are 10 different kinds of flowers. There are flowers made out of jeans, lace, t-shirts, felt, old clothes and used dryer sheets. The Love Grows tag is from another project. I messed up the back of it and threw it in my extra box. I just used some paint and stamps to make a garden type tag for this page. The butterfly is made from two hearts. I painted white card stock and used and old button for the center. I made this flower with a stem and leaves. The material is tshirt and my husbands old pants. The tshirs are just old white undershirts that my boys didn't fit anymore. I colored them pink and green using my homemade sprays. The sprays were made using Rit Dye. For the flower, I used several different sizes of circles and cut them out using pinking scissors. I layered the tan pants and pink tshirt and just glued them together. I love the casual look of the flower. The stem and leaves were cut from the tshirt material that was again colored using my homemade Rit Dye sprays. The flower is on the side of the page and helps hold the picture tag in place. These pages were dry brushed with tan paint. I used coordinating pink and brown ribbons and buttons for the picture tabs on both of these pages. Remember that I made this mini so that all the pictures come out. They are all held in with embellishments.
The last page in the mini is an Easter themed page. The banner and tag are free printables and the flower on the tag is another used dryer sheet flower. This one is not painted, it was sprayed. It gives it a softer colored look. The bird is a homemade stamp I made with foam. I used a bird die I have and cut it out of foam. I glued the foam shape onto corrugated cardboad. I stamped the image on an index card and cut it out. Foam stamps give really nice texture, especially when stamping with paint as I did here. The nest is twine that has been cut and layered up with clear glue. I cut the eggs out of painted cardstock and then used markers to make the design. The little bunny is another homemade stamp. I carved the bunny image out of an eraser. And this is the inside and outside of the back cover. I tried to keep them simple.
I really hope this series has inspired you and has given you lots of recycle ideas to use in your craft projects and mini albumns. Beautiful things don't have to be commercial or store bought. They don't have to cost a lot, be from a certain line and all coordinating. Memories can be created using what you have right around you. I hope you share with me your creations you have made. I'd love to see them. MiMi THEscrapintor5000 What's next: Smashing in my summer day book... In this installment of the Recycled Mini Albumn Series, I will cover pages 5 - 10. Hopefully this will continue to give you ideas on how to use materials from around your house to embellish your mini albumns. Here is a look at page 5 and 6. The first thing I did, before I started adding phots and embellishment, was to add paint to the pages. Page 5 on the left was dry brushed with some blue paint. On page 6 I dripped some blue paint, used a pencil top to add some green dots and a round sponge to add larger yellow circles. The next thing I did was to stamp a large sun foam stamp and cut it down to make a top pocket for the picture. I also used the dragon fly and frog to hold the picture in. Both of these were stamped using foam stamps purchased at a thrift store. I stamped the frog on packing material. The dragon fly is white card stock painted with the same green paint used throughout the mini. I stamped it using white wash. Page 6, on the right side, also has a frog and dragon fly that help hold the picture in place. I also added grass to the bottom of the page. It's white card stock that has been painted with green and cut to make look like grass. I also used a pop can top and added a bee stamped circle to the center for another embellishment. Here is page 7 and 8... Page 7 on the left was really easy and fun. All I did was take a pocket off a pair of jeans and use it for a frame. You can slide the picture in and out of the left end of the frame. I added some buttons and bugs and it's done. Page 8 on the right is chuck full of fun embellishments. It's one of the paper bag pages so there is a pocket with a picture tag and then another tag in the end of the bag itself. I added a lot of fabric to this page. There are scraps of fabric behind the pocket tag as well as on the pocket. I also made some fabric flowers with button centers and added some ruffled ribbon to the bottom of the pocket. I used a pop can top as a buckel for a strip of ribbon and jeans to line the top of the pocket. I think page 7 and 8 might be my favorites. They were really fun to make and came together very nice. On page 7, the fence is made out of popsicle sticks. I painted the page green on the top and sloaping down to a brown on the bottom. I was trying to make it look like a hill and green trees. I made the two trees out of kleenex boxes. The one on the right is the pattern of the box and so I just left it like it was. The one on the left was painted. Page 8 was given a coat of yellow wash paint over the music sheets. I sprayed a doily with green homemade sprays. The flower is made from tissue paper that I painted and used dryer sheets. The flower center is an old button. The leaves on the flower are cut out from kleenex boxes. The ribbon on the end is wrapped around the page a couple times and helps to hold the picture in place. I hope you have been inspired. Part 4 will be out next week. Thank you for stopping by.
MiMi Dibble THEscrapinator5000 As many of you know, I love to use recycled materials and have created a mini using items from around the house or things I've purchased from thrift stores. Part 1 covered the basic construction of the mini. This post will give you some more details on how I decorated the cover and the first 4 pages. The cover is corrugated cardboard that is painted white and tan. I used lots of different kinds of coordinating ribbon and fibers to decorate the binding rings. I even used some jean material that was left over from making the flowers. The flowers are also made from an old fleece jacket, tshirts that I colored with fabric dye and packaging materials. I stamped the word Spring and used a label maker for the rest of the title and date. I purchased the label maker at a garage sale for $0.10. The frog, butterfly and dragonfly are foam stamps purchased from a thrift store. I stamped them on packaging material and scrap mail envelopes and then cut them out. I printed a picture on paper using an ink jet printer. I tore around the edges of the picture and used Mod Podge to glue down and seal the top. I used a thin coat and moved quickly when I sealed it which kept the ink from running. The flower was made with a homemade foam stamp. I stamped it using whitepaint and then went over the center with a round sponge to give it a little texture. I punched the butterfly out and added some glitter. I made all the pages so the pictures are removable. This gives you the opportunity to make a double sided picture. You could also add journalling spots on the back of or under the picture. The background is washed with white and yellow paint. I used the flower and the doily to hold the picture in. The flower is part of a carnation flower from a thrift store. I took it apart and used 3 layers and put a pebble in the center. The leaves of the flowers were cut out by hand from a kleenex box. I painted and used Mod Podge on the doily to give it a little strength. I kept this page simple, using 2 border punches to secure the picture. The paper flowers are from the thrift store and I added flower centers from my scraps. One is a pebble with added glitter and the other is a pearl from a broken necklace. This is one of the paper bag pages with a pocket and a tag. I decorated it with paints, my homemade foam flower stamp, and a doily. I hope you all enjoyed part two. I'd love to know what you think and what kind of recycled materials you use for your mini albumns? Stay tuned for more installments.
MiMi I love to use recycled materials, things around the house or things you would normally thow away for crafting. I love to upcylce, go to thrift stores and clearance stores and see what I can find. I was making a paper bag mini and messed up the gluing and where I punched my holes so instead of throwing them away, I made flowers. I love how they turned out and will for sure be making these again. Here's some quick instructions on how I made them. How to make a paper bag flower:1. Cut open your paper bags, paint them and then dry. I used craft pain and some home made sprays. I used metallic paint on one and some glitter paint on another. I also left part of the paper bag as is and didn't paint every single part of the bag. I like the craft paper look.
*You can use lunch bags or grocery store bags. These are lunch bags. The grocery store bags will be thicker. You will have to spray a little more water on them when scrunching them up. 2. Cut 5 different size circles. I used decorative edge scissors. 3. Spray them with water, scrunch them up and dry. 4. I then used hot glue to glue all 5 layers together. I glued the first layer onto a 1 inch circle as a base. I glued them really quickly and used a fair amount of hot glue. When all 5 pieces were down, I pushed the center down and pinched it together. This gives it more dimension. *Be careful to not burn yourself. You could use a pair of tweezers to do this. I just used my fingers. They are like leather from years of being burned with hot glue so it didn't matter to me. :) 5. If you want to add a center, go ahead and do that. I used glitter glue and some bling on a couple and on one I didn't. I just scrunched up the center more. I hope you like this project. Let me know if you have made some paper bag flowers yourself or decide to give it a try. I'd love to see what you've made and post it. MiMi A quick share on some paper flowers I made for the front of a journal. I love the metalic silver with purple. The paper is tissue paper and old book pages. I sprayed and painted the papers and then used the Tim Holtz Tattered Florals die to cut out the pieces. From there, I simply layered with hot glue and used some bling and glitter glue in the middle for the flower center. Hope you like them. Do you make paper flowers? I'd love to hear and see how you make them. Please share!
Let me know if you have any questions. Till next time, happy crafting. MiMi About three weeks ago, I altered the cover of a sketch book. In the post, I showed a fabric flower I altered to fit the feel of the book. This is just a quick post to tell you how I did that. It's really simple. Here's the original flower: I made the flower from fabric and burlap using the Tim Holtz tattered floral die. I glued the layers together using hot glue. Changing the color: The first thing I did was to get some walnut stain and drip, not spray it on the flower. I love walnut stain! I used alchohol ink to stain the blue flower bling in the center as it was way to bright. I also used wine colored paint to color the burlap a little. Changing the shape: I wanted it to not lay quite so flat so I used some liquid matte medium to paint on the pedals and then shapped them the way I wanted. I used my heat gun to set the shape. You could probably use watered down matte Mod Podge too. Making leaves: I also added some brown leaves I cut out of card stock using a sizzix die. I first covered the card stock with used dryer sheets and spayed some color on it with my homemade sprays. *I will do a post on making flowers and leaves with used dryer sheets soon. I have been doing this for a long time and love it! Good way to recycle too. Here's the altered flower: I just love it! I'd love to see flowers you have made! Be What's next? 1. 365 for February
2. flowers - I am getting ready to make some flowers from old clothes, tshirts, sweathsirts, jeans and pants. Should be fun. 3. used dryer sheet flowers and leaves MiMi Don't forget to "Like" me on facebook and follow me on Pinterest and Twitter. Alter a sketch book? No problem. Give it an "organic" feel? Problem. I know what organic means and how it applies to food and even decorating and fashion maybe...but art? Hummm, I wasn't sure how this was going to play out but I was up for the challenge and by the time I finished, I was thinking my style might even be a tad organic. That is of course if you think this sketch book actually has an organic feel. I'm still not sure of that but I am sure I love it and had a ton of fun doing it! Okay so how did I get from no clue to the finished product? It wasn't easy. Getting my inspiration:The person who asked me to make them the sketch book emailed me a picture that kinda indicated the organic feel she was going for. Helpful but I still was stumped. So, what do you do when you are stumped? Google! First Google search: organic Second Google search: organic style Third Google search: organic art Ahhhhh! Really? At this point I thought I needed a paper bag to breathe into so I went back to basics...color and my supply of homemade embellishments. I pulled out a couple shades of brown and blue paint and some fabric flowers I made using the Tim Holtz tattered florals die. TIP: I tend to make lots of flowers in a sitting and keep them in my supply and then pull them out when needed. I make different kinds, sizes and colors. I find that this helps me to be more productive when I am making a project. The process part 1 - the background:This sketch book comes bound so the first thing I did was to take the cover off and give it a good coat of gesso. The cover was originally green so once it was dry, I gave it a second lighter coat to make sure it was totally covered. Using a damp brush, I painted a light brown color in a streeking pattern with no intention of total coverage. I then used a dry brush with a thin coat of the dark brown over the top. I made it a little darker around the edges. Using black Archival Ink, I stamped in a couple spots with a script stamp. The next part is the canvas...I glued it down unpainted using Elmers craft spray adhesive. This stuff is very sticky. Protect your area when spraying it. I frayed the edges before gluing and didn't glue the frays down. I used both the blue colors I picked out and a dry brush to paint the canvas. I intentionally got some off the edges of the canvas onto the background. After the paint on the canvas was dry, I added some of my homemade sprays using Dazzling Metalics Rich Espresso paint. I held my finger of the nozzle when I sprayed it so it would not come out in a fine mist but rather leave larger drip marks. I also decided I was going to use an additional color besides the four I picked in the beginning for inspiration. I picked wine and used my finger to make some hightlights around the edges. At this point, I was kinda figuring that the "organic" feel I was supposed to be going for was blown. I had this nice, neat, clean lines, just right image in my mind of organic and thus far this sketch book is nothing like that. This is more like messy, sloppy, spotty, blotchy. Oh well, I love it so on to the flowers. The process part 2 - flowers:I thought that when I was done with the background, I would just attach the flowers I'd picked out in the beginning and move on. One problem.... This flower on this sketch book was not going to work. I suppose if I had that nice, neat, clean lined background it would have worked out great. But I don't sooooo.... I altered the flower to match the feel of the book. Here's what I came up with.... Ahhhhhh, LOOOOOOOOVE it!!!!!! I altered the smaller flower as well and attached it along side an embellishment I made with hot glue, a rubber stamp and some acrylic paint. I will do tutorials on the flowers and the hot glue embellishments in a seperate post. The process part 3 - the title:The last step was to put the word "Art" on the cover. I decided to go with wood. I used Woodsies, small thin pieces of balsa wood. They come in large packages and are really inexpensive. There are squares, circles, rectangles, mixed shapes and letters. These are really neat to use. You can cut them with an exacto knife or a die, stain them, paint them, stamp on them... really fun. I thought the wood felt organic and would help with the theme of the book. I sprayed the pieces with Walnut Ink. I love this stuff. I know a lot of people own all kinds of sprays and mists. There must be a dozen on the market or more. I don't own any of those commercial spays, never have. I make all my own with one exception - Walnut Ink. It's one of my favorite supplies. It's not cheap but it goes a long way. The color is very intense. I mix it with water to dilute the color. After my wood pieces were dry, I used my wood burning tool to spell out ART. I took some of that same wine color paint that I used on the the edge of the cover, to lightly smear on the top of the letters to tie it into the background and flowers. I really like how the letters turned out. Besides the letters, there are number sets, symbols and word sets that can be used with the wood burner. They words fit perfectly on the smaller pieces of rectangle Woodsies. They are inspirational words like love, inspire, believe etc. If you don't have wood burning tool, ask your husband. He might have one in his workshop. It's really easy and fun. You can also burn leather. The finished product:I used my Cinch to rebind the cover back onto the sketchbook. So what do you think? Did I get organic or ummmm, not so much? Either way, I had a ton of fun doing this and the recipient loved it so, mission accomplished. What's next?1. butterfly notes journal
2. hot glue embellishment tutorial 3. flowers - probably a couple posts on flowers, how I make them and how I altered the flower in this post. 4. 365 for January 5. February's journal - not a 365 but it will work. 6. altered art journal cover Until next time, thanks for stopping by and please feel free to leave a comment. I'd love to hear what you think! |